
Orton-Gillingham In Small Groups? Yes, You Can!
Do you find yourself scratching your head when thinking about how to run an Orton-Gillingham in small groups during a typical school week?

Here are some common problems that can arise:
- The timing could be off. You might only have a session of about 30 minutes daily or a few days a week. A typical 1:1 OG lesson runs about 45 minutes up to an hour.
- The pacing is spread out a bit too far. You end up feeling like you could be holding students back instead of moving them forward through the sequence.
- What do you sacrifice when you have time constraints without compromising fidelity and the greater good of the child and the group?
- Different needs and ability levels among students might vary. This can make creating common groups tricky.
Let me start by saying this. YOU CANNOT MAKE EVERYONE HAPPY. YOU ARE NOT PIZZA. Now breathe.
Need support creating your OG lesson plans? Read What Does An Orton-Gillingham Lesson Look Like?
If your schedule still gives you heart palpitations, here are some logistical tips to consider:
1. Split the lesson over two days.
Some folks like the idea of splitting a lesson over two days. You can do this, but you will move more slowly through the Orton-Gillingham progression.
Create a modified lesson plan. If you have short sessions each day, you might try it like this:
- Monday-Wednesday: Phonogram drills with a small, specific set of phonogram cards, new concepts, review and practice, and controlled reading.
- Thursday and Friday: You can still start with the phonogram drill and be sure to make time for controlled text, but use those two days to practice more encoding like spelling and dictation.
- Friday: Make this day a chance to build in practice where the student is more independent. Perhaps there is a choice board of pre-selected games they can play while you observe, take notes, and progress monitor. This can inform you as you plan future lessons with your groups and kids love having choices even if it’s just for a short time.

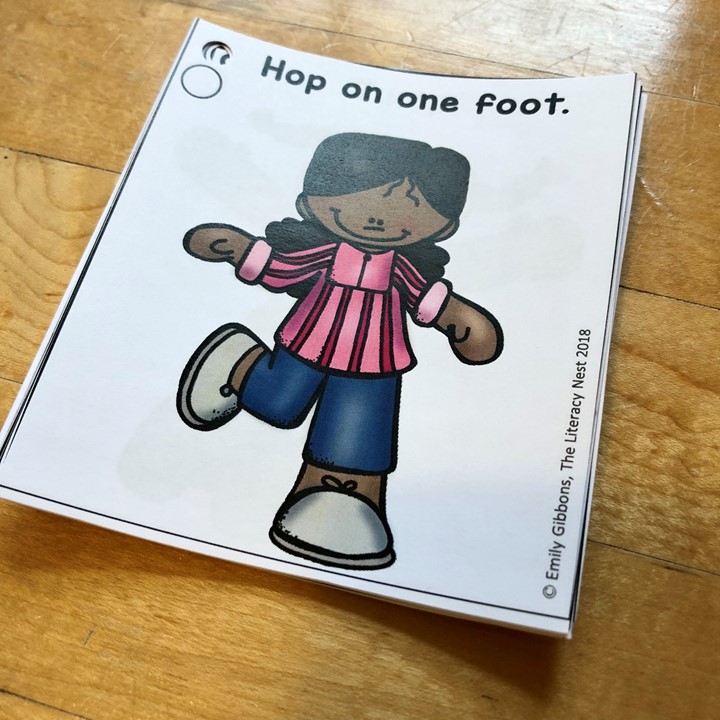
2. Get moving!
Keep them active, engaged, and moving even if it means just flipping flash cards or a quick ball toss. Maximize your time by having materials ready. If you have to walk through a building to pick students up, have drill cards with you on a key chain or ring. If your little group walks in a single file with you as the leader, give them a prompt in which they have to reply while passing a ball or squishy toy.
3. Be mindful of sizing.
I once was in an interview and asked what the average group sizes were for special education students. When I was informed 10-11 students per group, I knew there was something seriously wrong there. Please aim for smaller. 2-3 kids is ideal, but no more than 6 per group. Appropriate service delivery that adheres to a child’s IEP is paramount, so be sure you are compliant.
4. Consider the table you use.
Whenever possible, a kidney-shaped table for small groups works well. They are all facing you. The only downside is you will have to read their work upside-down sometimes. But, you can give them individual tasks to complete and pull one child at a time to sit right beside you to check their work and provide immediate feedback.
5. Be mindful of what you display.
Certainly, you want an alphabet, some reference posters, a pocket chart, and access to a whiteboard. But think about what you can display on a tabletop stand or a flip chart. Are there reference tools a student should keep inside a binder or notebook for their use?

When you are teaching in the small group:
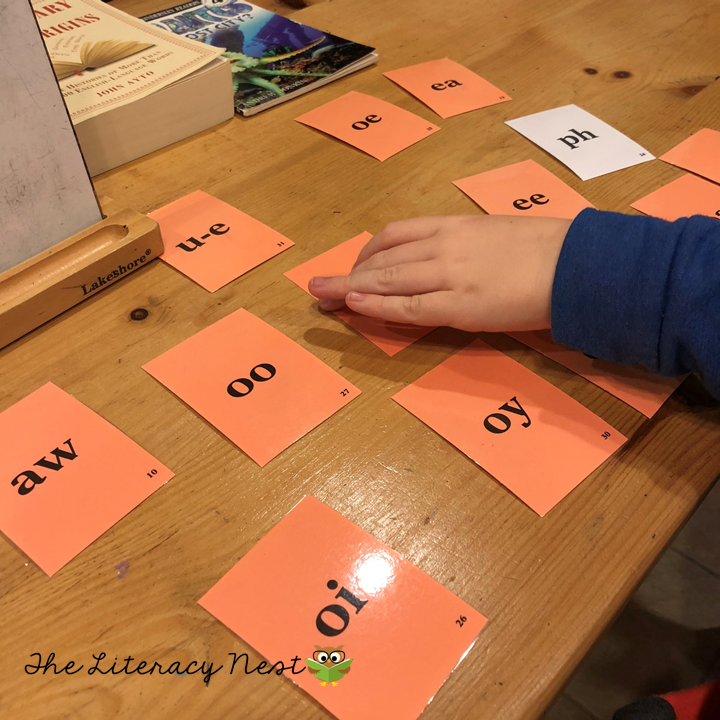
Three-part drill: If you are doing this portion, it’s easy to carry on drilling through your card deck with them, but with multiple children, it is recommended to have one child drill a card at a time. So if you have an sh card, each child will say it alone. They all need that auditory and visual piece with you making eye-to-eye contact with them. There’s too much chance for casual error if they are always doing a card drill in unison, and you will not be able to hear the individual child properly enough to assess whether they are giving the correct response.

Provide brief feedback if there is an error and move on to the next card or child. If you want to switch things up and have children respond to a card in unison, it’s appropriate to do that once in a while.
Read more ideas for phonogram card drills to see how you can mix things up for further engagement, and don’t miss my YouTube video Warm-Up Ideas for Orton-Gillingham Lessons.

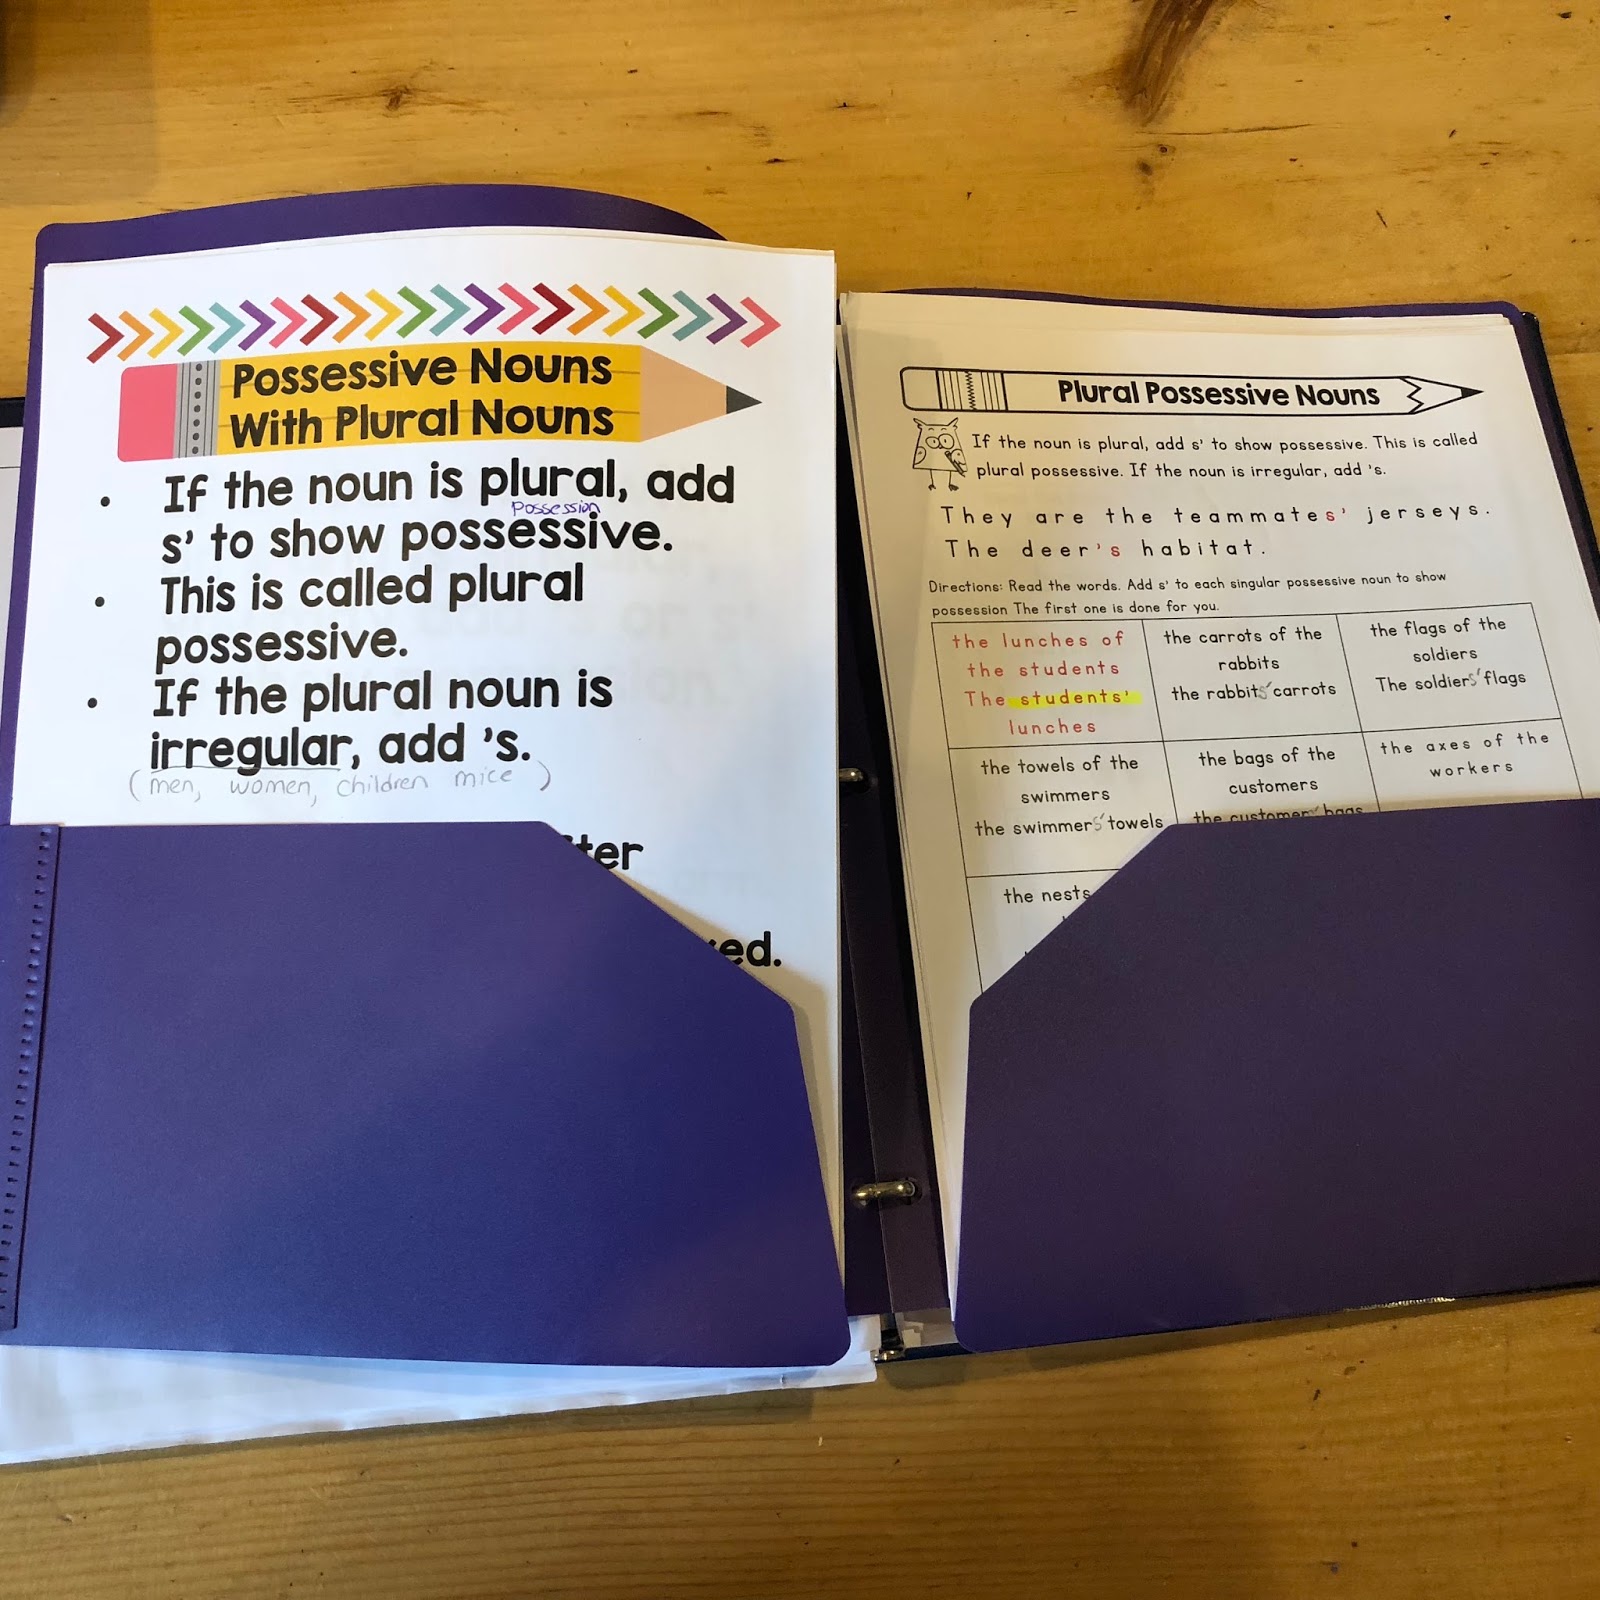
When introducing new material, be sure every child has multisensory tools to use such as sand trays, felt boards, or plastic cross-stitch mats. Give each child the chance to say the name of the phonogram, the keyword, and the sound individually so you can watch them and hear them. Then, everyone can do it together. I stress watching the pace so one child isn’t flying through. Encourage practice in unison. Word cards can be displayed in a pocket chart or anchor chart to read. Then, give each student a word list to practice reading and highlighting.
Read my post about word list ideas and Orton-Gillingham notebooks for ideas. Word lists are glued into notebooks after you are done reading and highlighting.
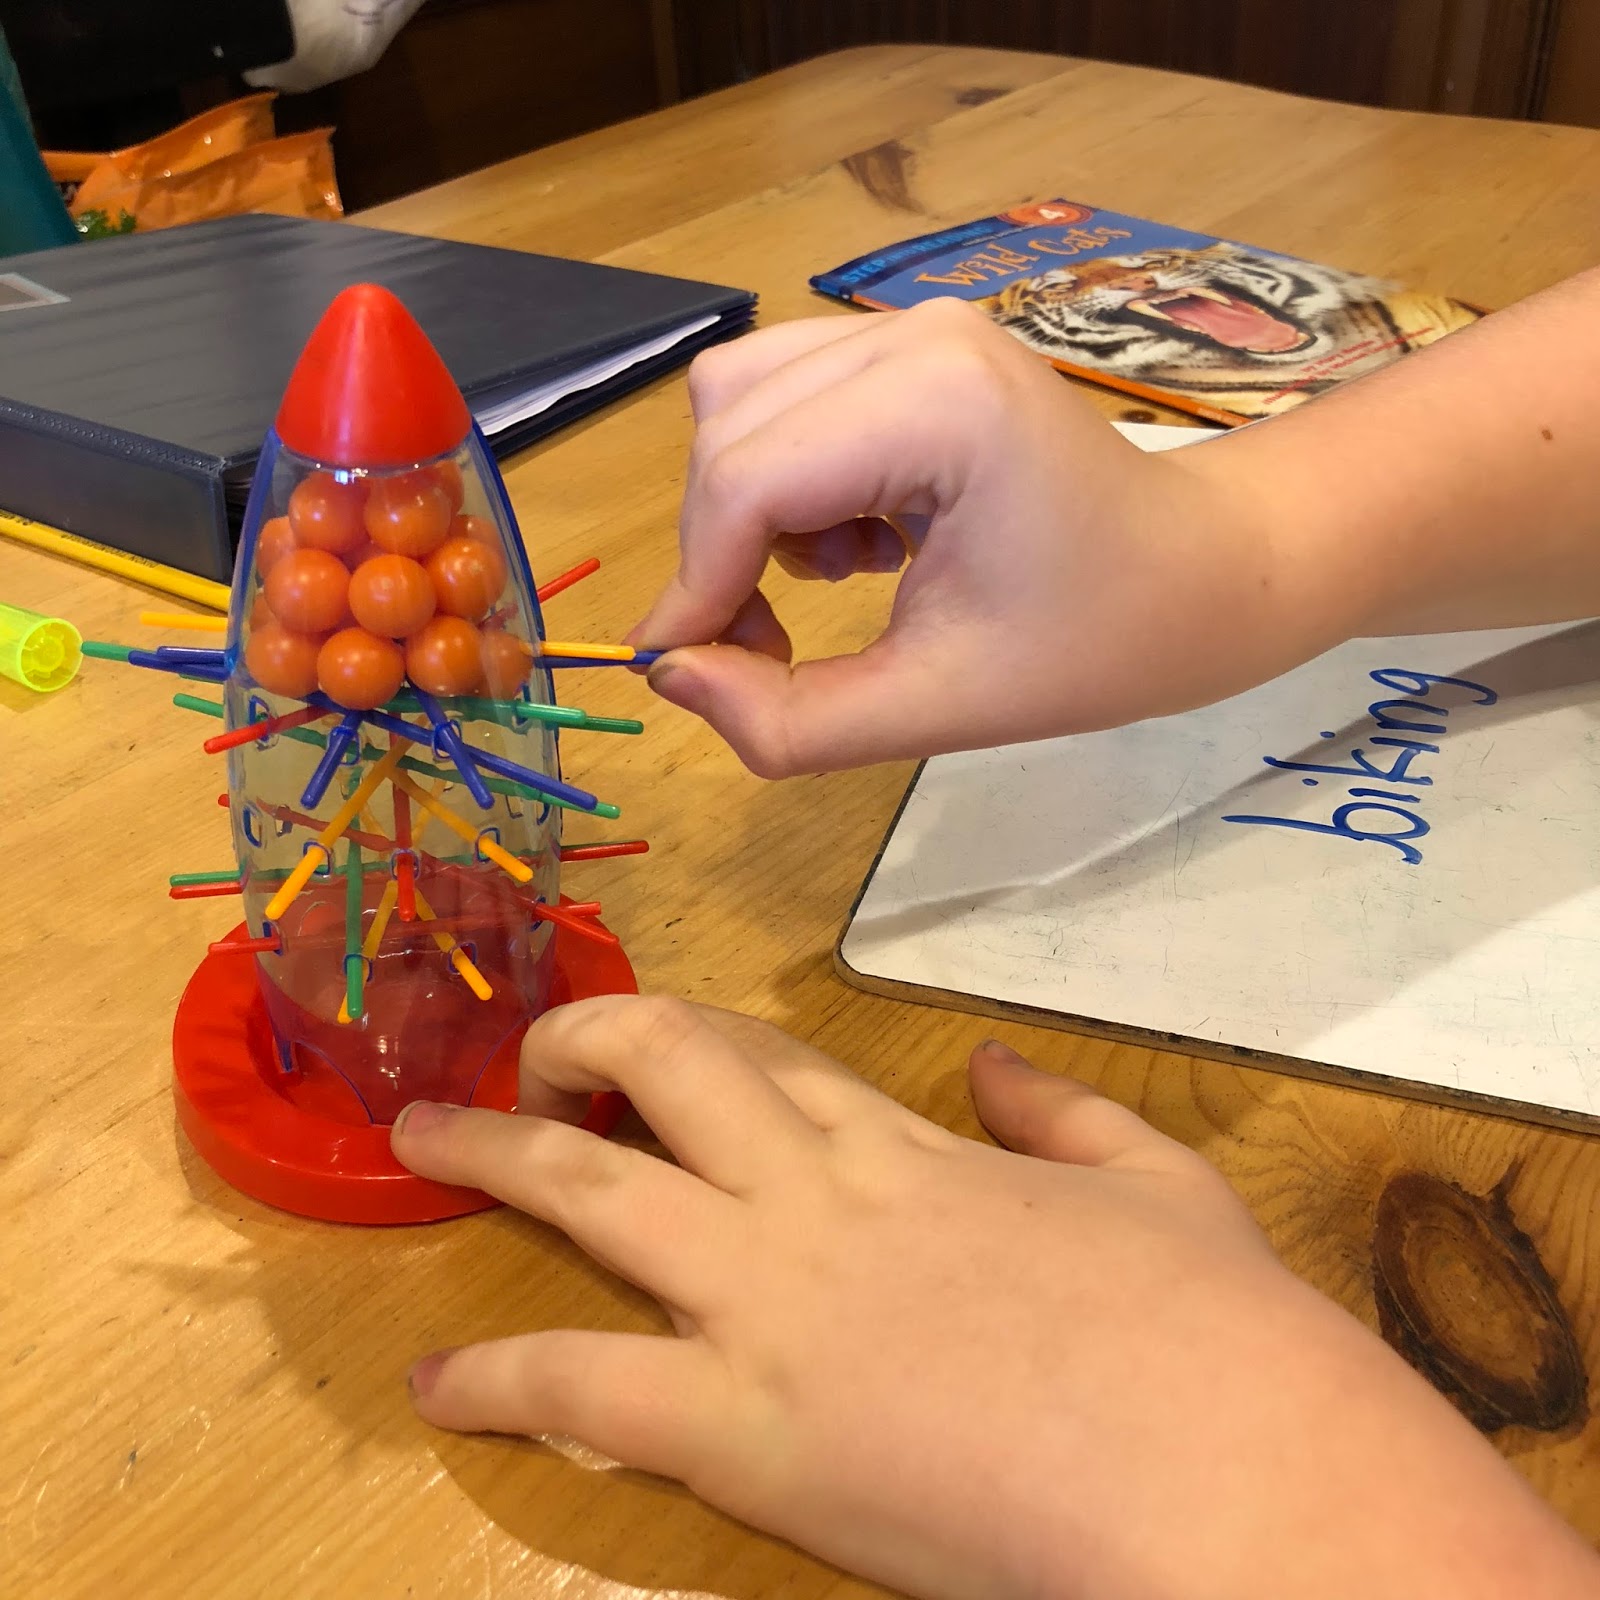
The review portion of an OG lesson is a perfect time for games. This is where you can pair children up to play in groups of 2 while you watch and take notes. Plan for easy games with low prep like matching, simple game boards with a start and finish, cube games, or tic-tac-toe. It’s fine to run a whole group game together as well and take turns around the table. Above all, make it FUN and have fun. Review time is one of my favorite portions.

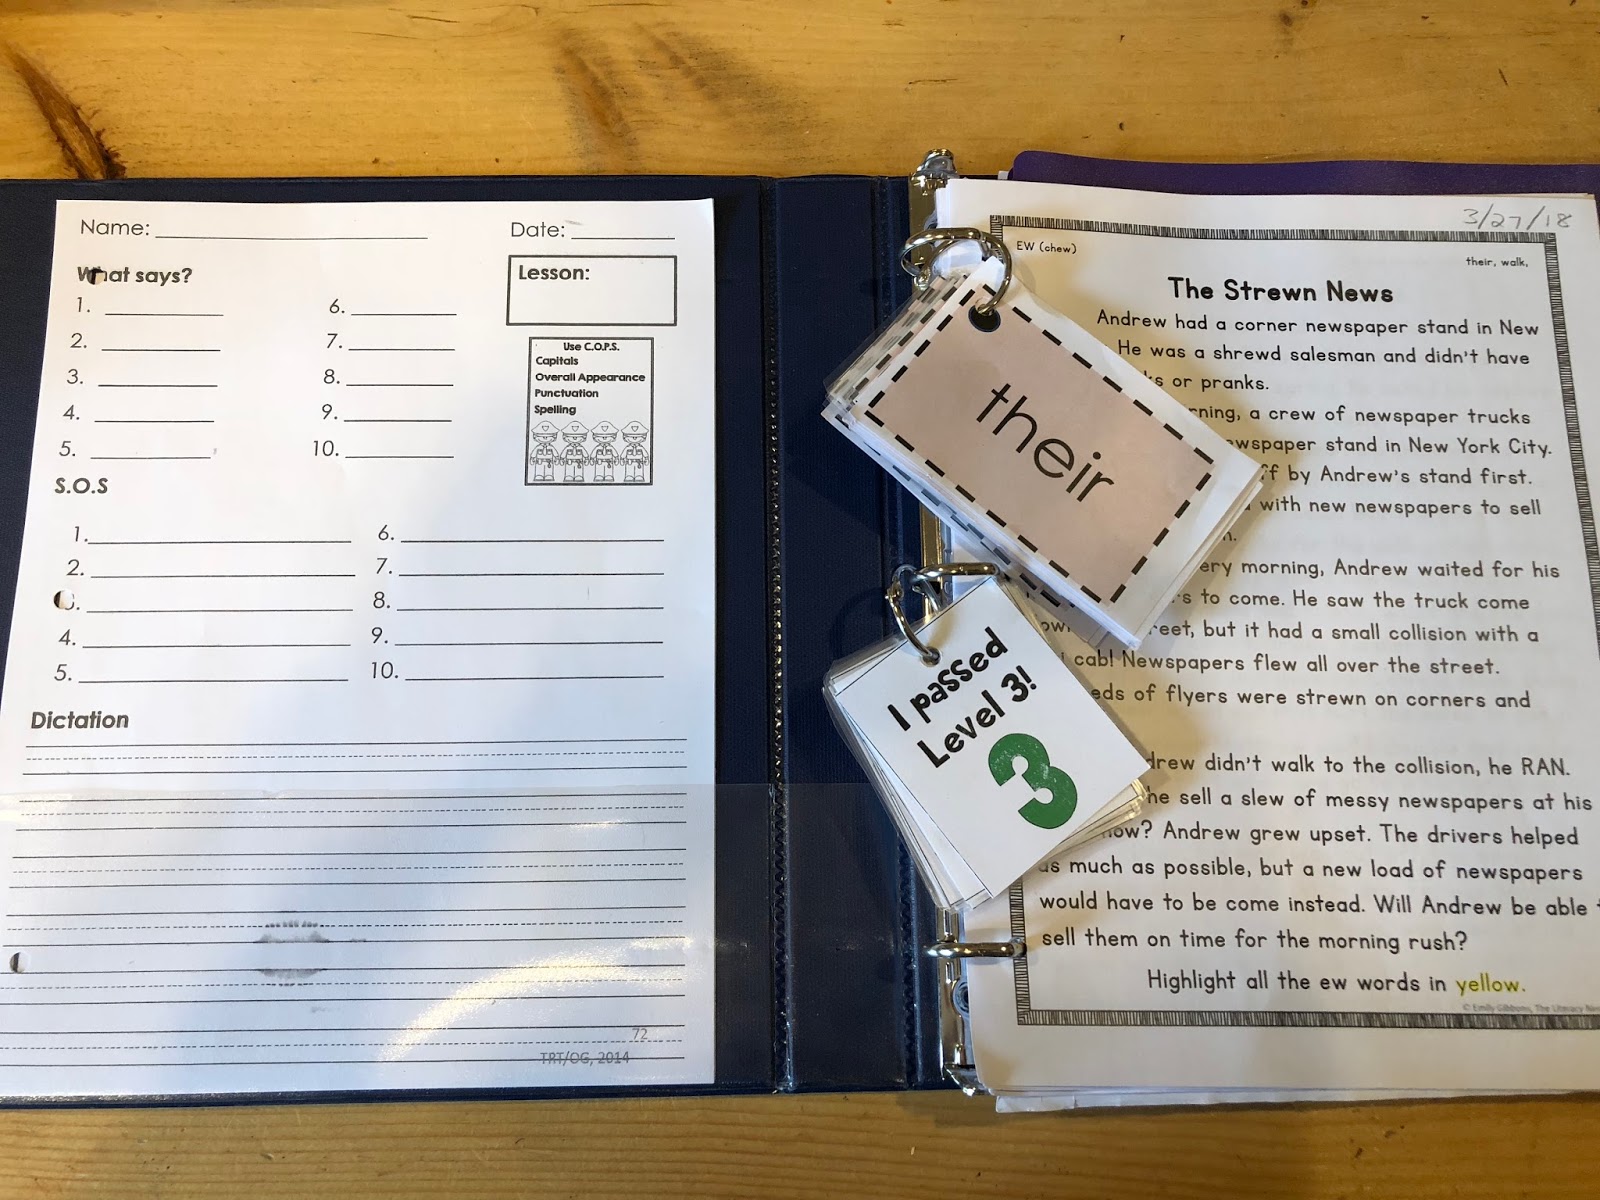
What Says, SOS, and Dictation: For this portion, it’s critical that every child is watching your mouth as you pronounce sounds, words, and sentences. Training your students to do this portion in unison is recommended for timing. I’m including a group note-taking sheet for you to attach to your lesson plans to help you jot down what you observe. Be sure to have copies of student work by scanning a photo of the page they write on and saving it to a computer. This is helpful if they keep all their dictation work in a binder like I do or take all student work back when the lesson is complete. What’s In My O.G. Binder gives lots of organizational tips for student binders.

Oral Reading: Give each child a chance to read individually, but not in a round-robin fashion. Make sure the other children are following along. I recommend cutting up the fluency sentence strips I create in many of my multisensory phonics packs and giving each child one to read out loud as a start. Then move on to a controlled reading. I’ve changed up when I do controlled reading with children in my lessons this year for children who are ready for non-controlled text. I move the controlled reading right after the review and save non-controlled reading until the end of the lesson.

Learn more about the Foundational Principles of Orton-Gillingham! Listen to season 4, episode 4 of the Together in Literacy podcast!
Shaking Up The Routine! What About Stations and Choice Time?
In a tight weekly schedule or in the event where you have lots of groups to manage at once, is it possible to place children in rotation stations? It is, but be sure they still have time with you and are not independent or in a small group partnership the whole time. If you have a second pair of hands to help you as you run stations, they can stay on top of the reading behaviors noted while children are not working with you. Everyone would start with you, branch out into rotations with specific jobs for a short time, and then return to you for a wrap-up spelling and/or dictation.
Choice time is a chance for children to pick a particular format of practice or game they’d like to play. This is an especially helpful incentive when you have children who might be uncooperative. Making earning choice time is a big deal.
Subscribe to gain access to my FREE resource library!
Orton-Gillingham Phonics Games!
Write your Orton-Gillingham lesson plans and you will be ready to go with this extensive bundle of multisensory games to support your phonics instruction. As you build a collection of resources for dyslexia learners, this phonics game bundle is a must-have!

Are you looking for a list of words to use in your Orton-Gillinghma lessons? Word List Builder has got you covered!
Save time searching for words to use in your morphology lessons! Create customized and meaningful review, build your folder of words, create templates and games, and much more in Word List Builder.


Thanks for all the great ideas in this post, Emily!
This is great! Thank you, Emily.
I would love to win this for my teacher husband and for my daughter's Kindergarten teacher. Thanks for the chance.
My OG box just arrived last week. I'm very excited to get started!
Super helpful suggestions, Emily. I've been trying to make O-G work with my title groups but haven't been as successful as I would like. Your ideas will help me start off next school year on the right foot.
Our BIG winner for the Post-It treasure box is Tara Gittelman. Congratulations! 🙂
Thank you! 🙂
Thank you so much for reading my post!
Thank you for entering!
Wonderful! Best of luck and keep in touch!
I love reading that my post helped you out! Keep in touch!
I am having to work with a small group of 6th and 7th grade students who are reading late first to mid-3rd grade levels. I could NOT for the life of me figure out how to support them for the hour a day I have! This was very helpful