Practical Tips for Orton-Gillingham Lessons When Tutoring Online
For our students with dyslexia, the specialized instruction they get through Orton-Gillingham lessons is extra important. With a little creativity and flexibility, delivering effective Orton-Gillingham lesson plans when tutoring online is possible. Depending on a tutor’s training or programming, the exact sequence and order of instruction may vary, but these tips apply to all Orton-Gillingham-based programs.

As Orton-Gillingham teachers, we know it’s critical to adhere to the principles of Orton-Gillingham instruction. You can achieve this during online tutoring. Please note, that the tips explained here are what works for me. There are MANY ways to tutor online. With a little patience and a whole lot of grace, you can easily get into a rhythm. I won’t lie and say it’s a piece of cake at first. Like anything for beginners, there’s a learning curve. It takes more time to plan and to find the things that work for you and your students when you’re starting.
The time you invest in practicing will pay off. What you DO have under your belt is your knowledge of how to remediate reading instruction for dyslexic learners and your knowledge base of Orton-Gillingham principles and methodology. Get ready to be flexible when you’re online!
Let’s go through the main parts of an Orton-Gillingham lesson plan and what that would look like when your lesson is in an online meeting with a student.
Here are the Main Parts of an Orton-Gillingham Lesson and Tips for Tutoring Online
If you need more information on Orton-Gillingham lesson plans, please read, What Does An Orton-Gillingham Lesson Look Like?
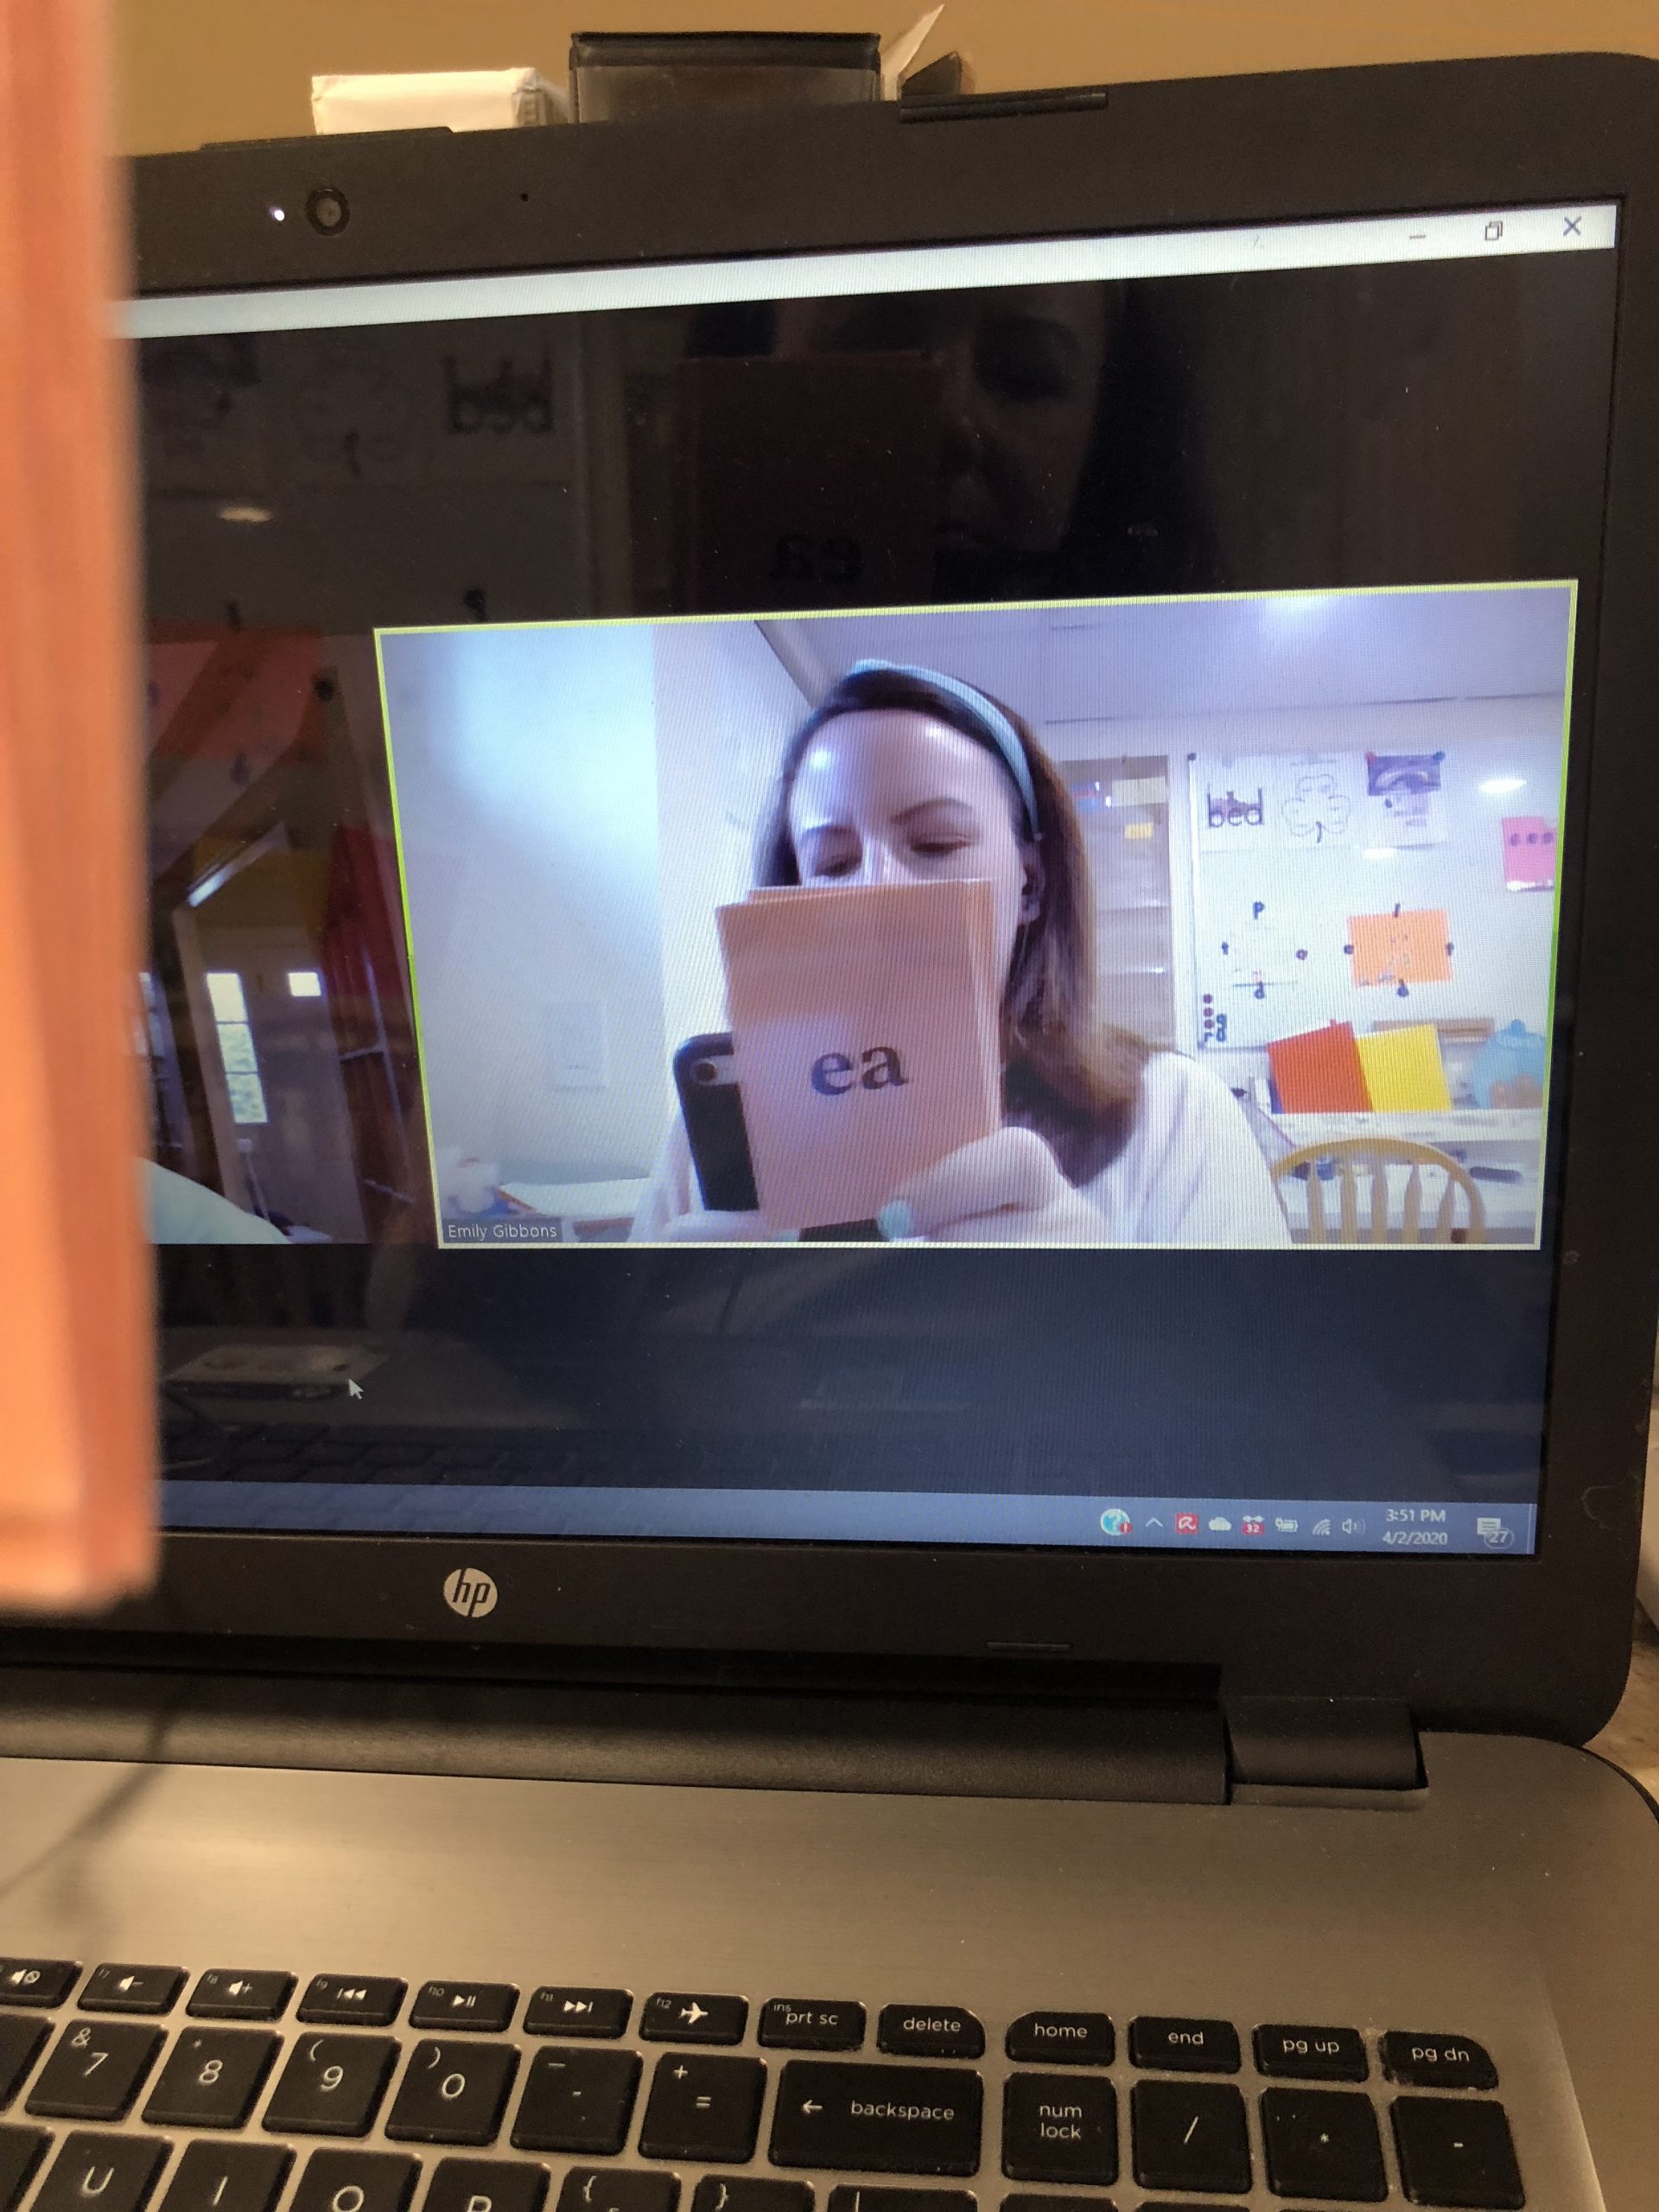
1. Card Drill
The phonogram card drill is well suited for a low-tech approach. It works well to just hold the cards up to the camera. It seems to go most smoothly when you hold a stack or pile of cards and pull them off the pile quickly as students respond. Most video conferencing software has a setting to mirror your screen with a checkbox to turn it on or off. Be sure you choose the setting that makes this look right to your student. The perk of doing the card drill this way is that it is fast and easy to change between students, make changes to the card deck with the addition of new sounds, and incorporate error correction and repeated practice easily.
Another option is to create a slide show with phonogram cards. This can be a convenient option if you are reviewing a small number of phonograms and want to reduce the number of transitions from sharing screens to face-to-face interactions.
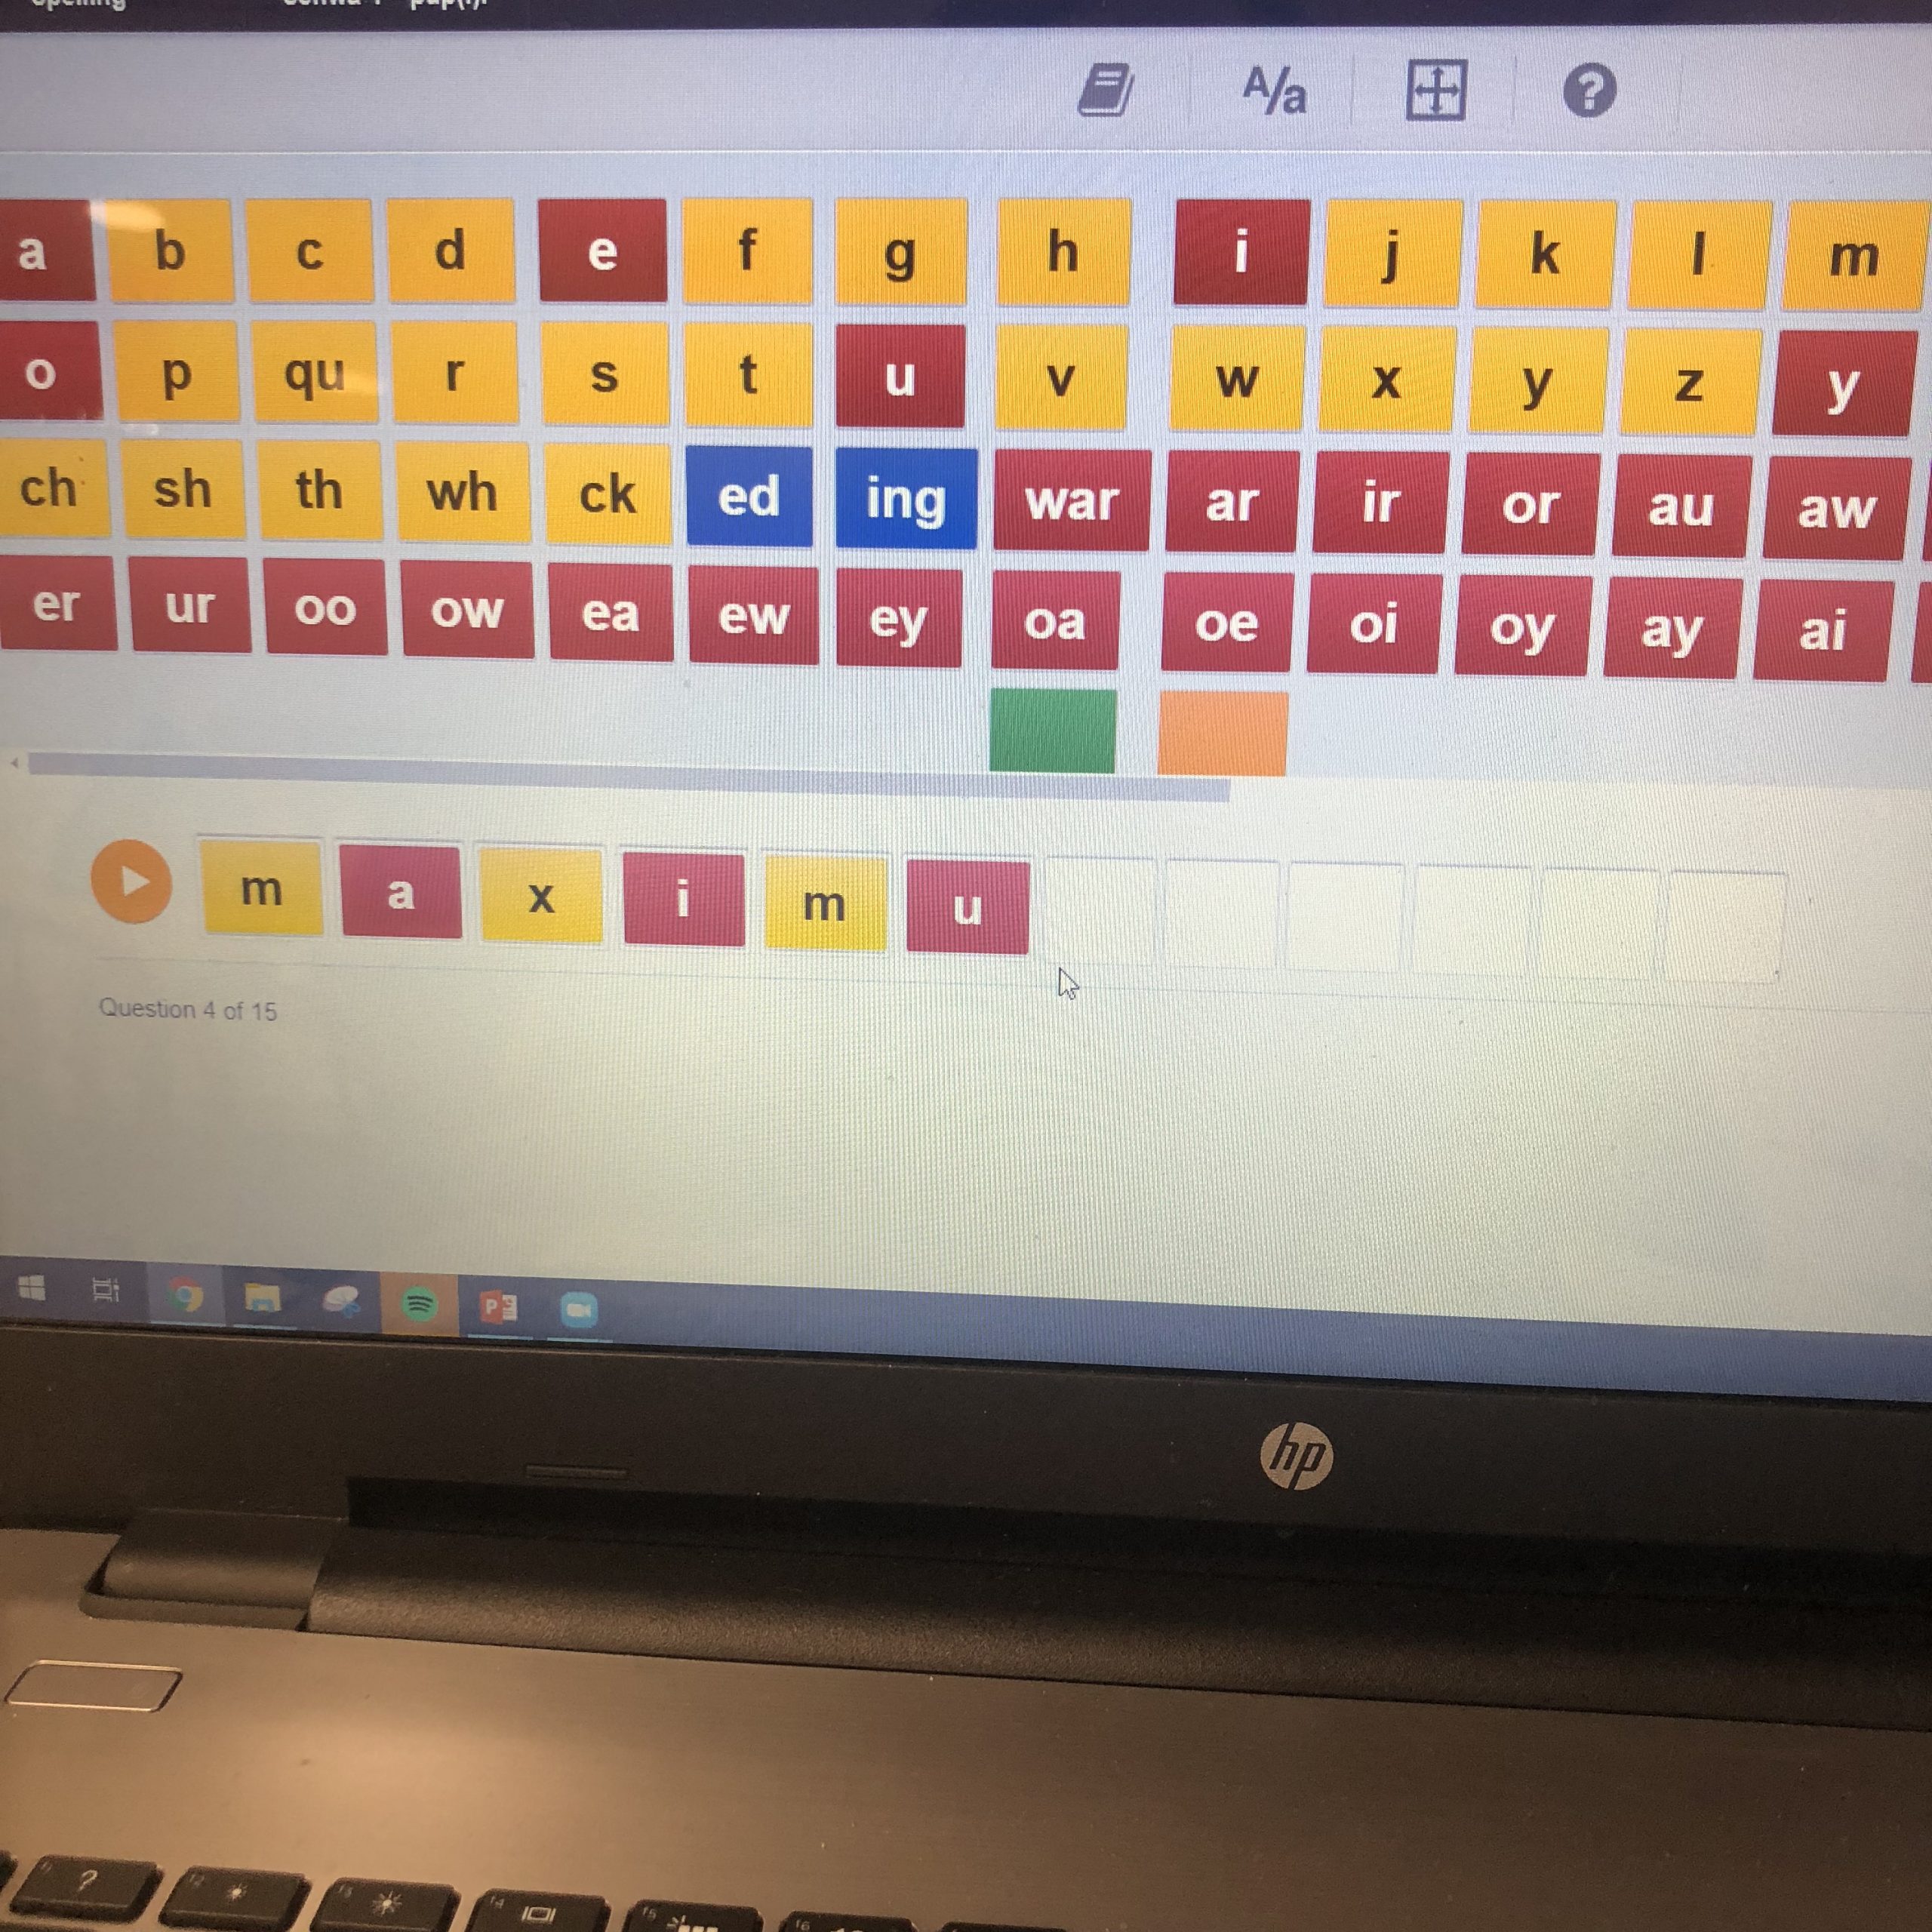
2. Blending Drill
I’ve used several different techniques for the blending drill. For many students, I use the actual cards much the way I would in a face-to-face lesson, building different syllable patterns by hand. This can easily be accomplished using a document camera, your phone, or webcam camera or by angling the laptop to look down at the table. The major advantage of this method is that it doesn’t require any special preparation or creation of additional materials in advance. It can easily be done on the fly.
Another technique that I like for younger students is to use digital letter tiles and set them up in advance in three piles. By sharing the screen with your student they can add the letters ll, ss, ff, or zz for floss words. It also makes it easy to adapt your instruction to student errors without having to dig through your card stack for something in particular.
Another strategy is to build a slide show or use various widgets. A slide show has the disadvantage of being static. While you may use one presentation with multiple students, you will probably want to use different blending drills in future lessons. This can be a bit time-consuming. While programs that allow random syllable generation are appealing, be mindful of the risk of generating inappropriate words or words that don’t follow English spelling rules.
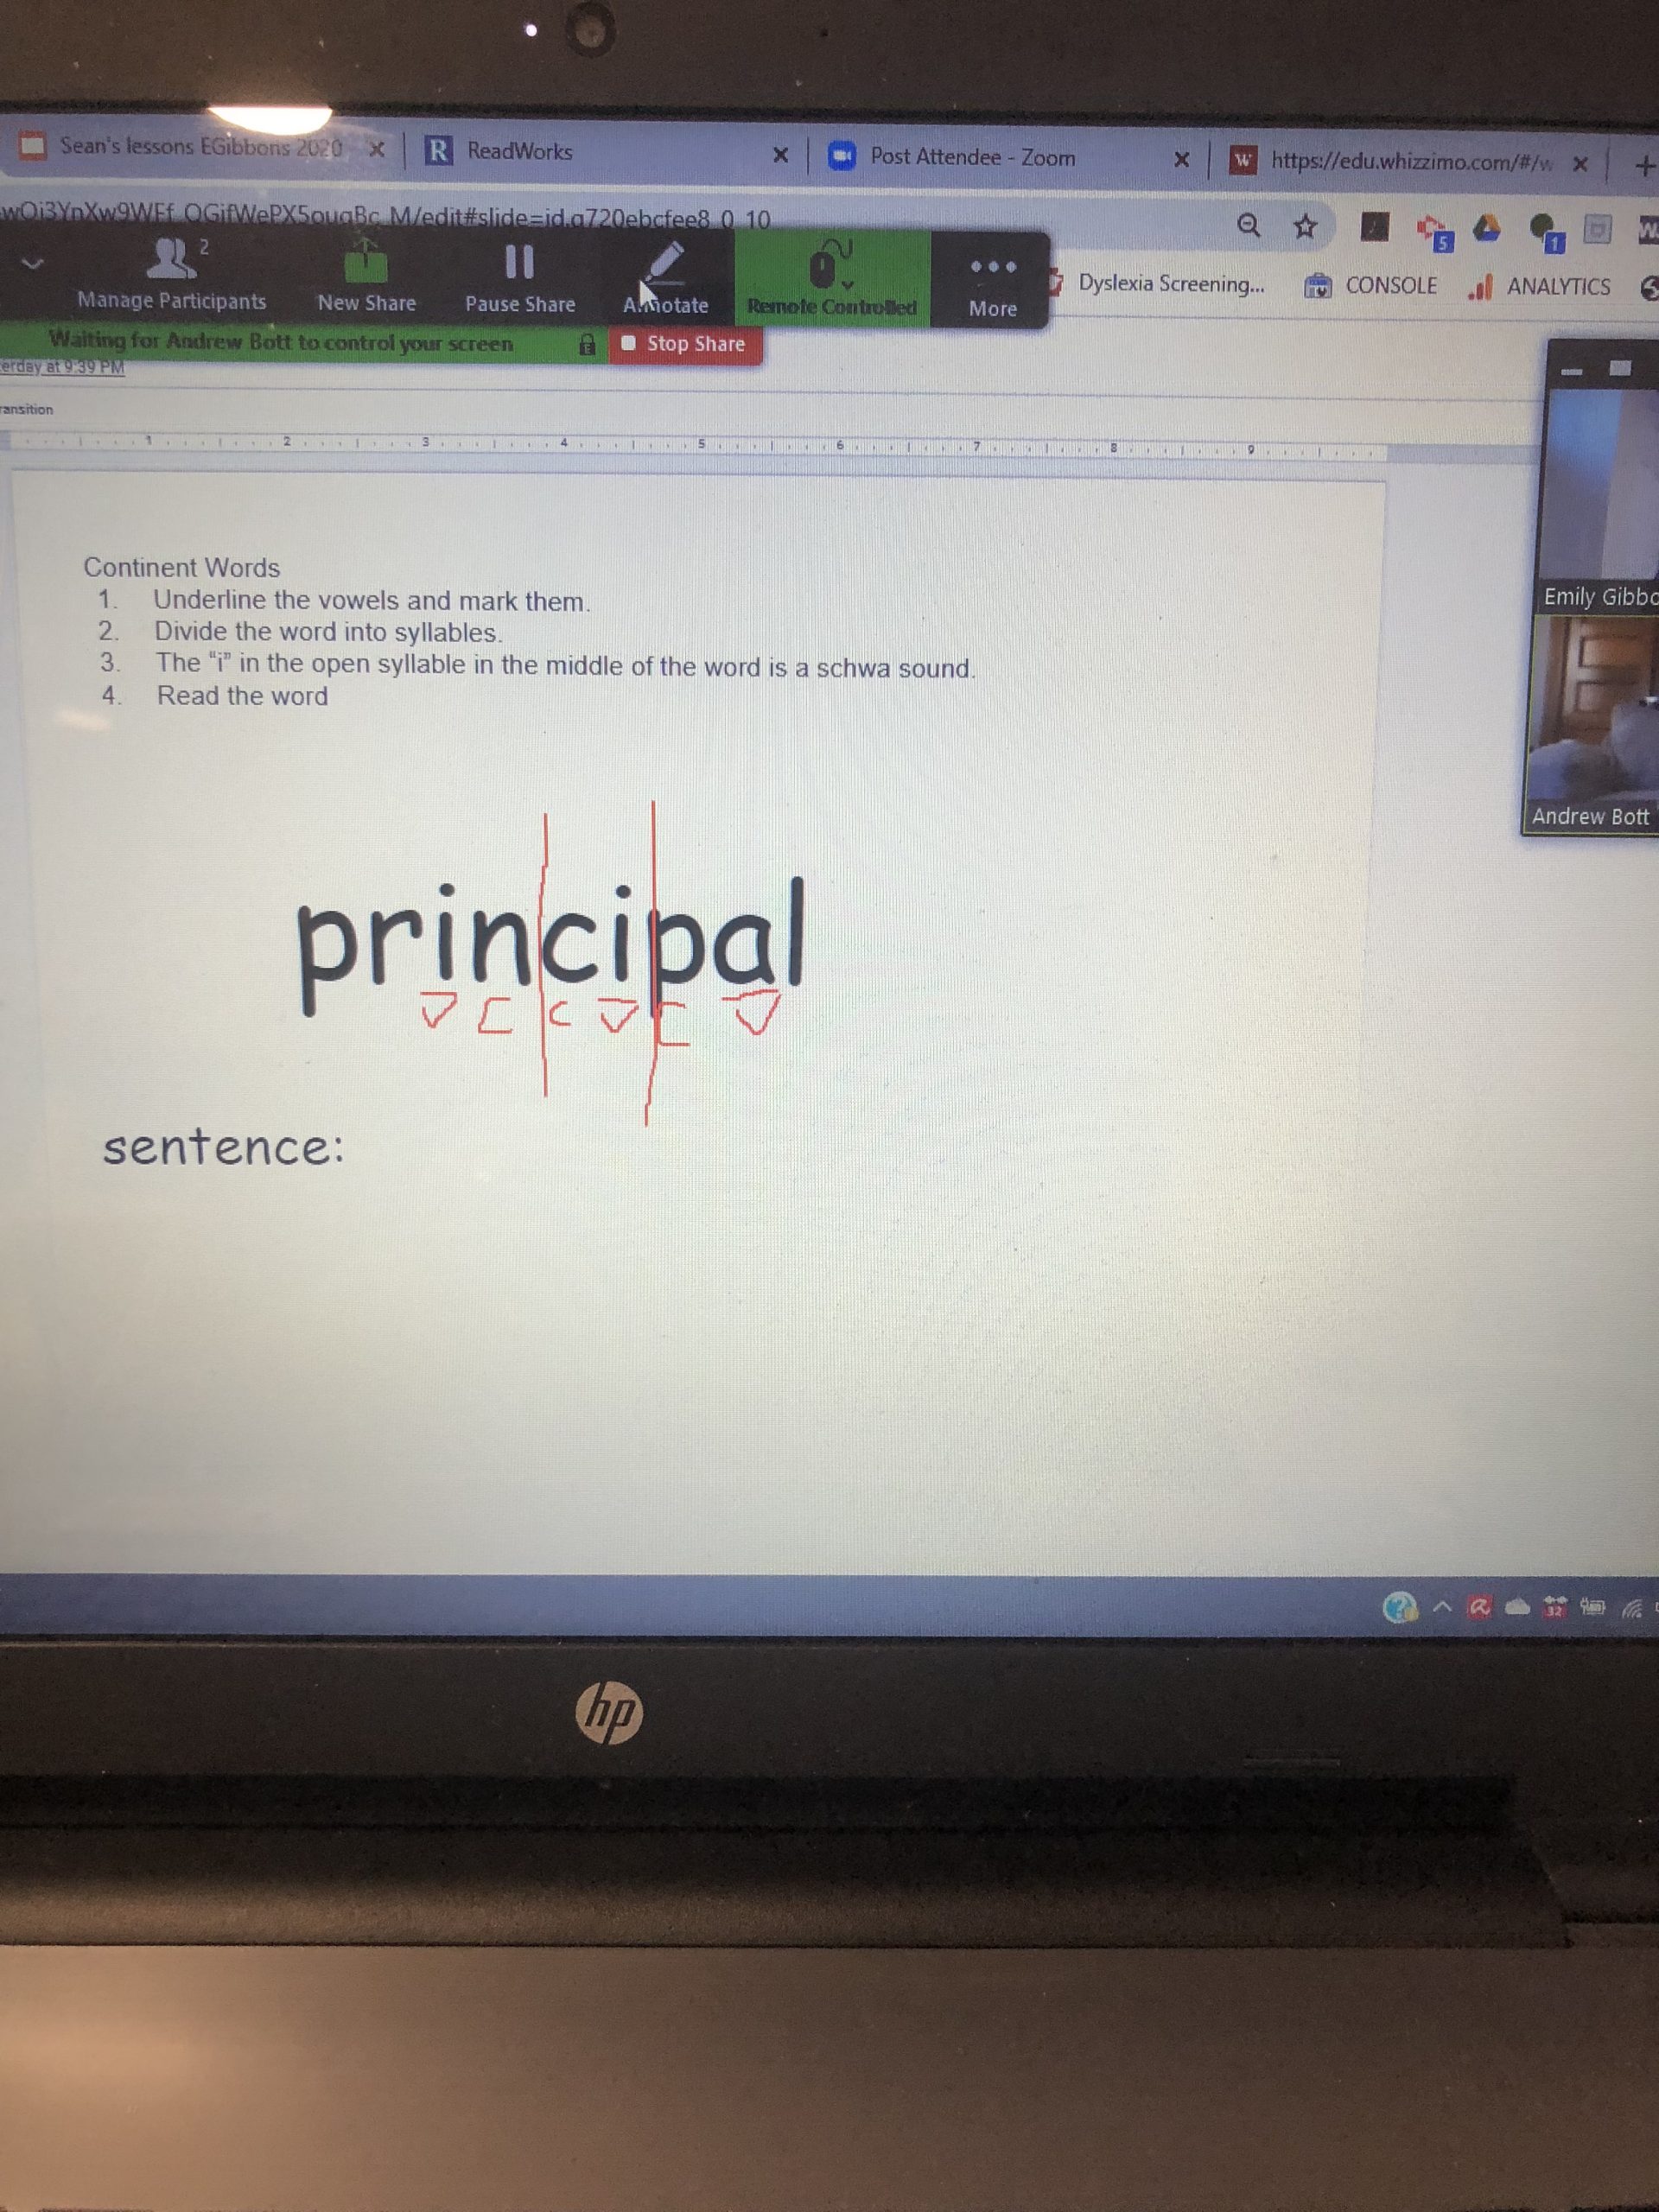
3. Concept Instruction
It can be helpful to create a slide show in advance that can be reused for a particular concept. This might include the use of letters, shapes, or words that you can uncover and move around. While this may take longer to build, especially if you incorporate animations and layering of shapes and words, the ability to restore it to its original state by not saving it after using it with a student or saving a copy before using it with a student makes the time commitment pay off.
Alternatively, an online whiteboard and annotation tools work nicely for marking vowels and syllables. This may be much faster to access and is particularly useful for teachable moments or when you need to review something.
4. Word Lists or Word Cards
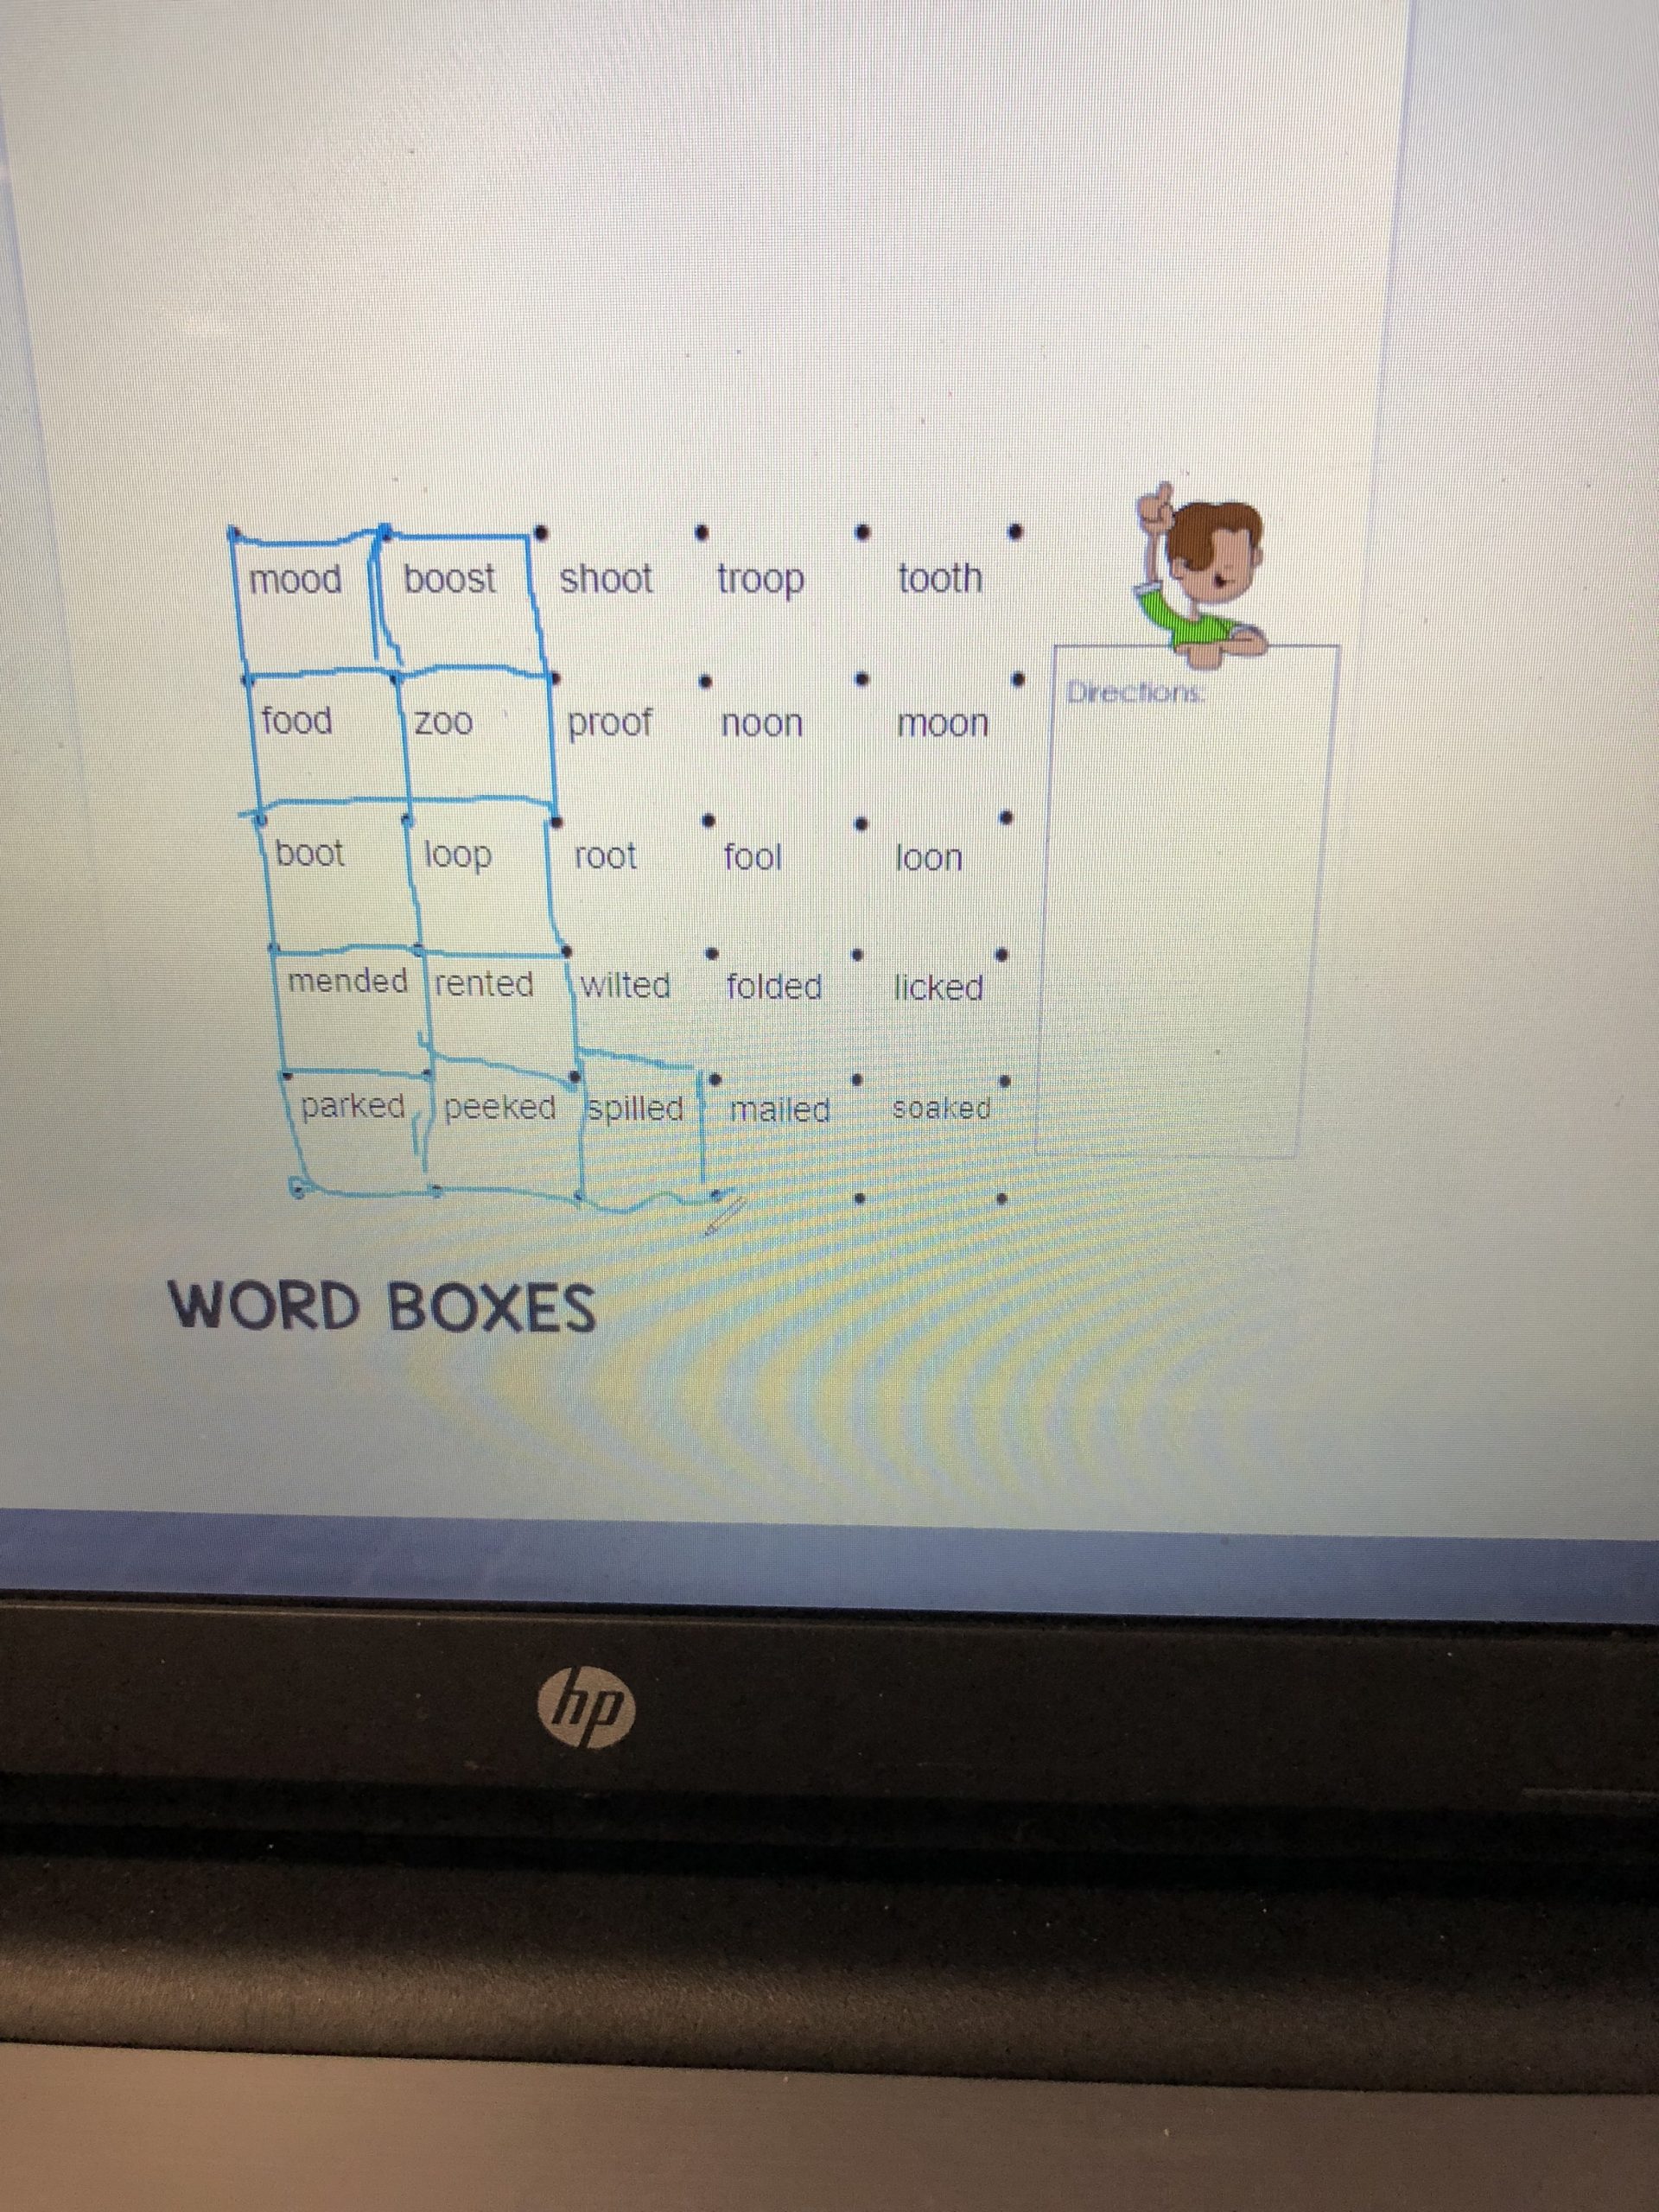
Whatever method you typically use for presenting words for reading to your student can easily be modified to work online. If you use word cards, you can hold them up to the camera or build virtual word cards using a slide show program. Word lists can easily be converted to a digital format by using the snipping tool on a PC or the grab tool on a Mac to change a document (whether word processing or PDF or something online) into an image file that you can paste into a slide show or an online whiteboard.
Using annotation tools you can mark up vowels, and divide syllables just as you would on paper. Depending on the age of your student and their technical experience, you can either share control of your screen. If you create word list templates in Word List Builder, you can easily save them as images. Then you can copy and paste them into your presentation. Here is a video tutorial to show how to do that.
For more tips, watch How To Insert An Image from Word List Builder Into A Slide.
5. Writing
Writing has been one of the biggest challenges in adapting to online instruction. In most cases, it isn’t possible to watch your student writing and forming the letters. For a student with whom you are doing a lot of work on letter formation, it may be worth working with the parent to rig their camera so you can watch them write.
For auditory drills or what says, the use of letter tiles may be faster and more fluid for some students. As far as word writing, I have found that regardless of the age of the student, typing or manipulating tiles is slower than writing. For students who might be reluctant to follow all the steps of SOS, tapping and spelling words orally before writing, the online format may help them see the value of this practice. If a student spells orally and then spells the word again as they write it, I am usually able to assess pretty quickly if the words are spelled correctly.
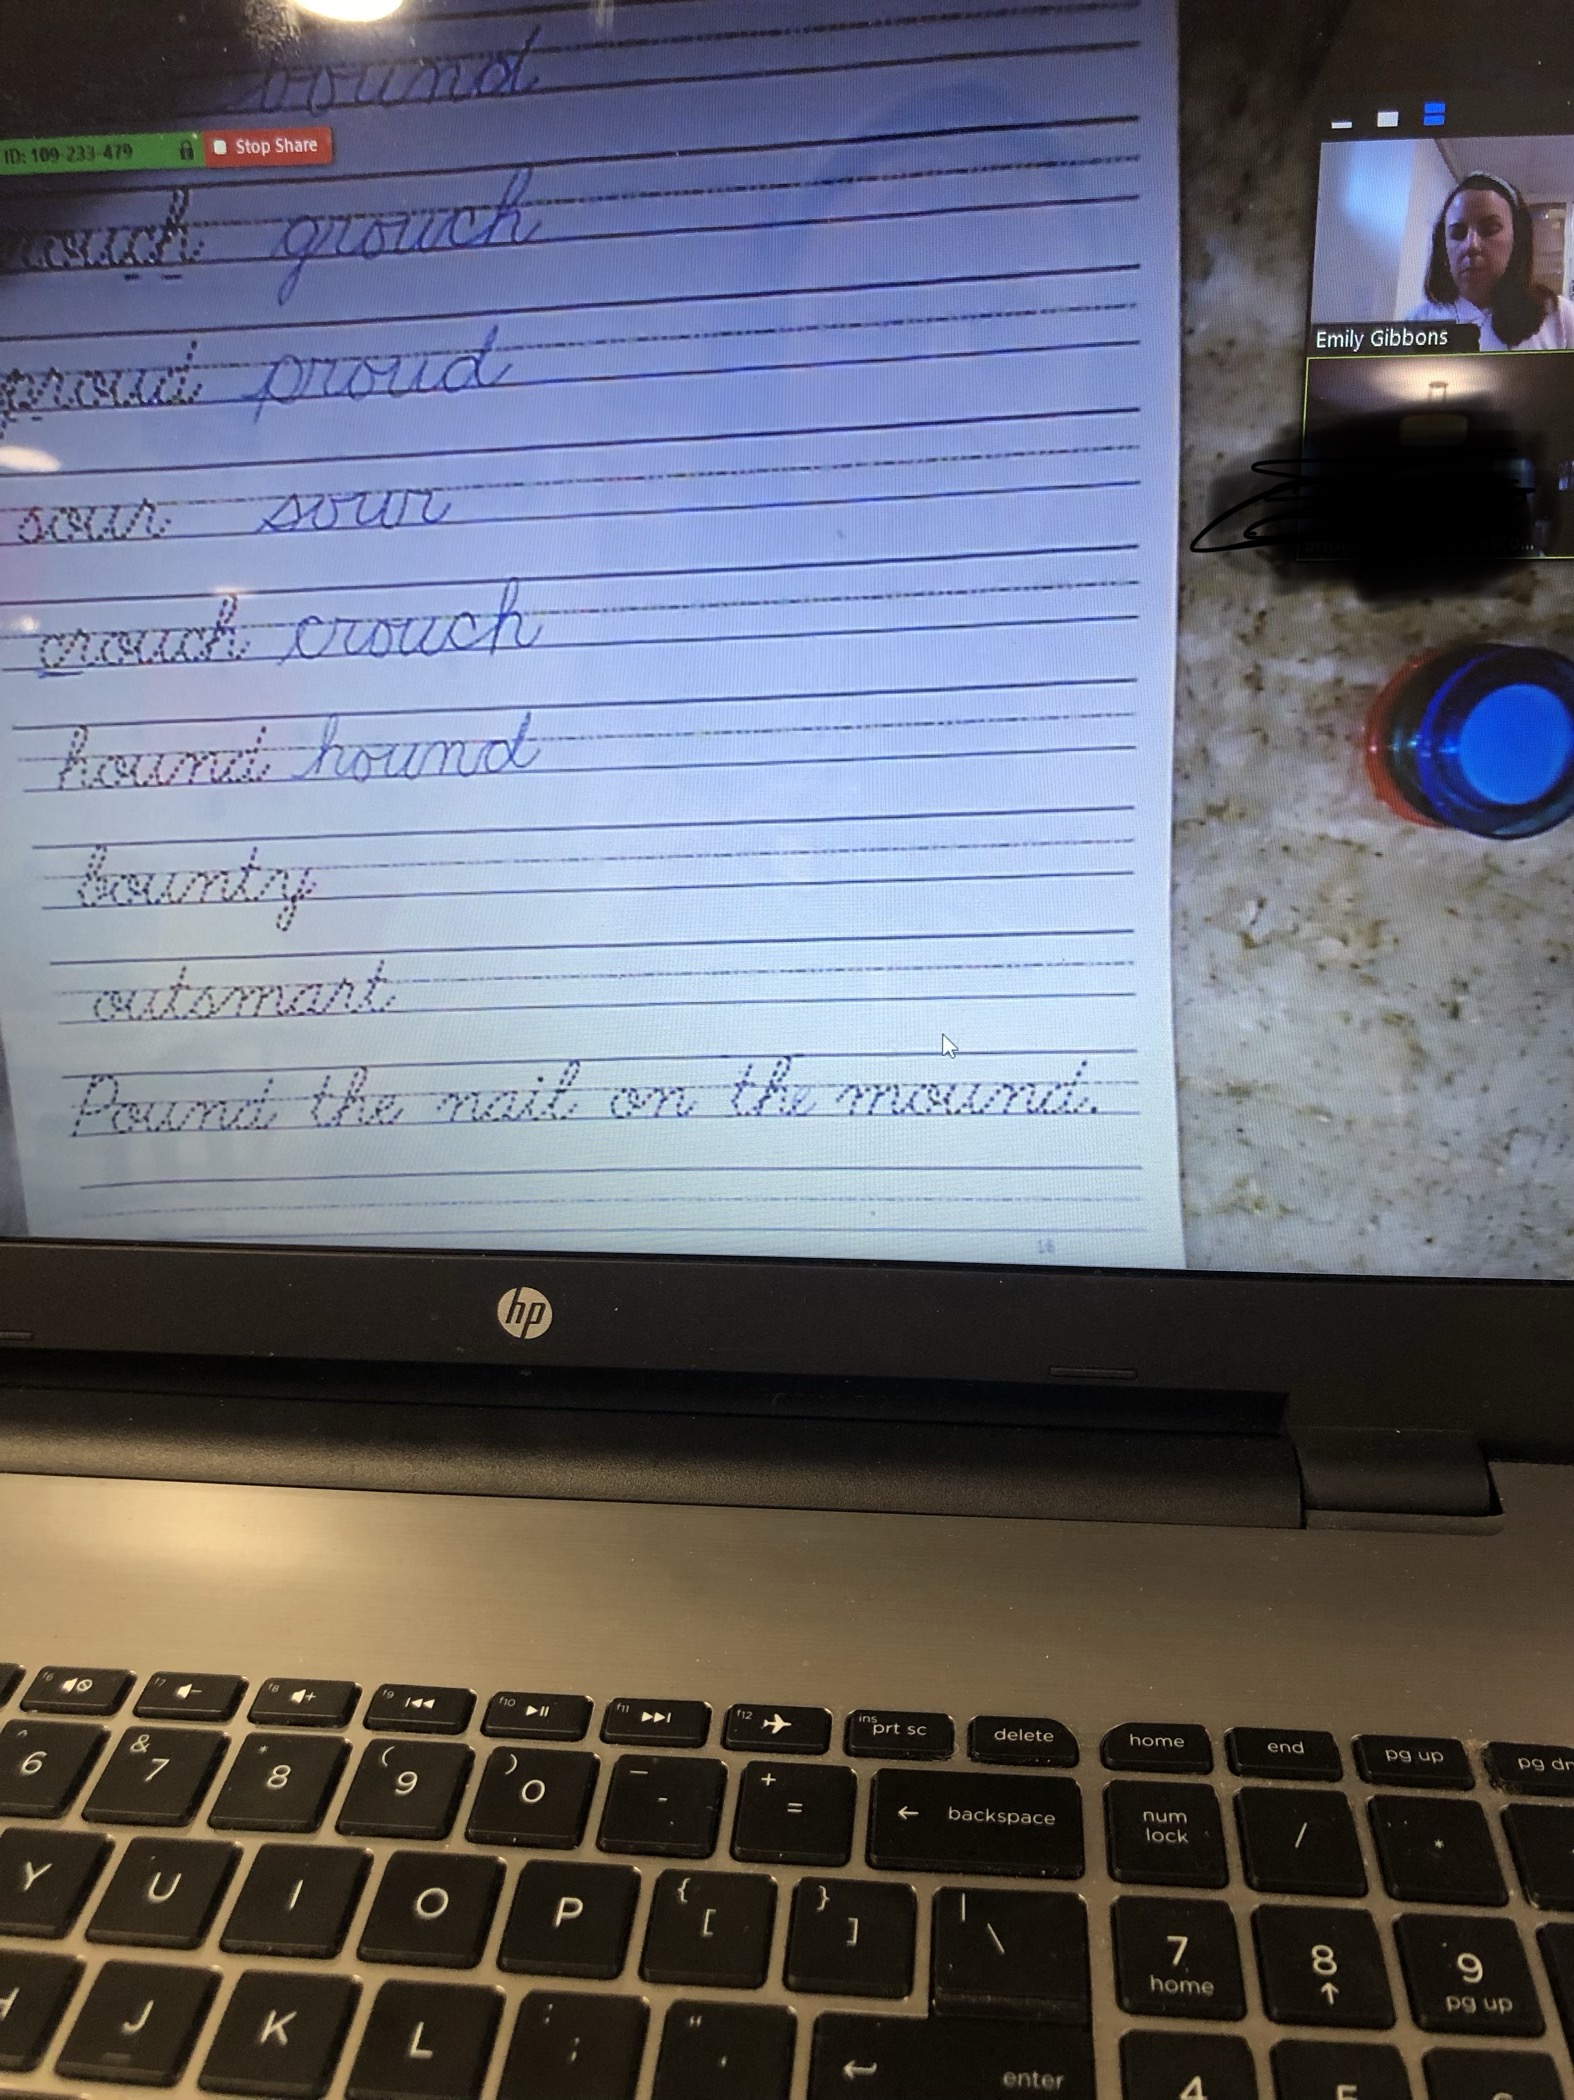
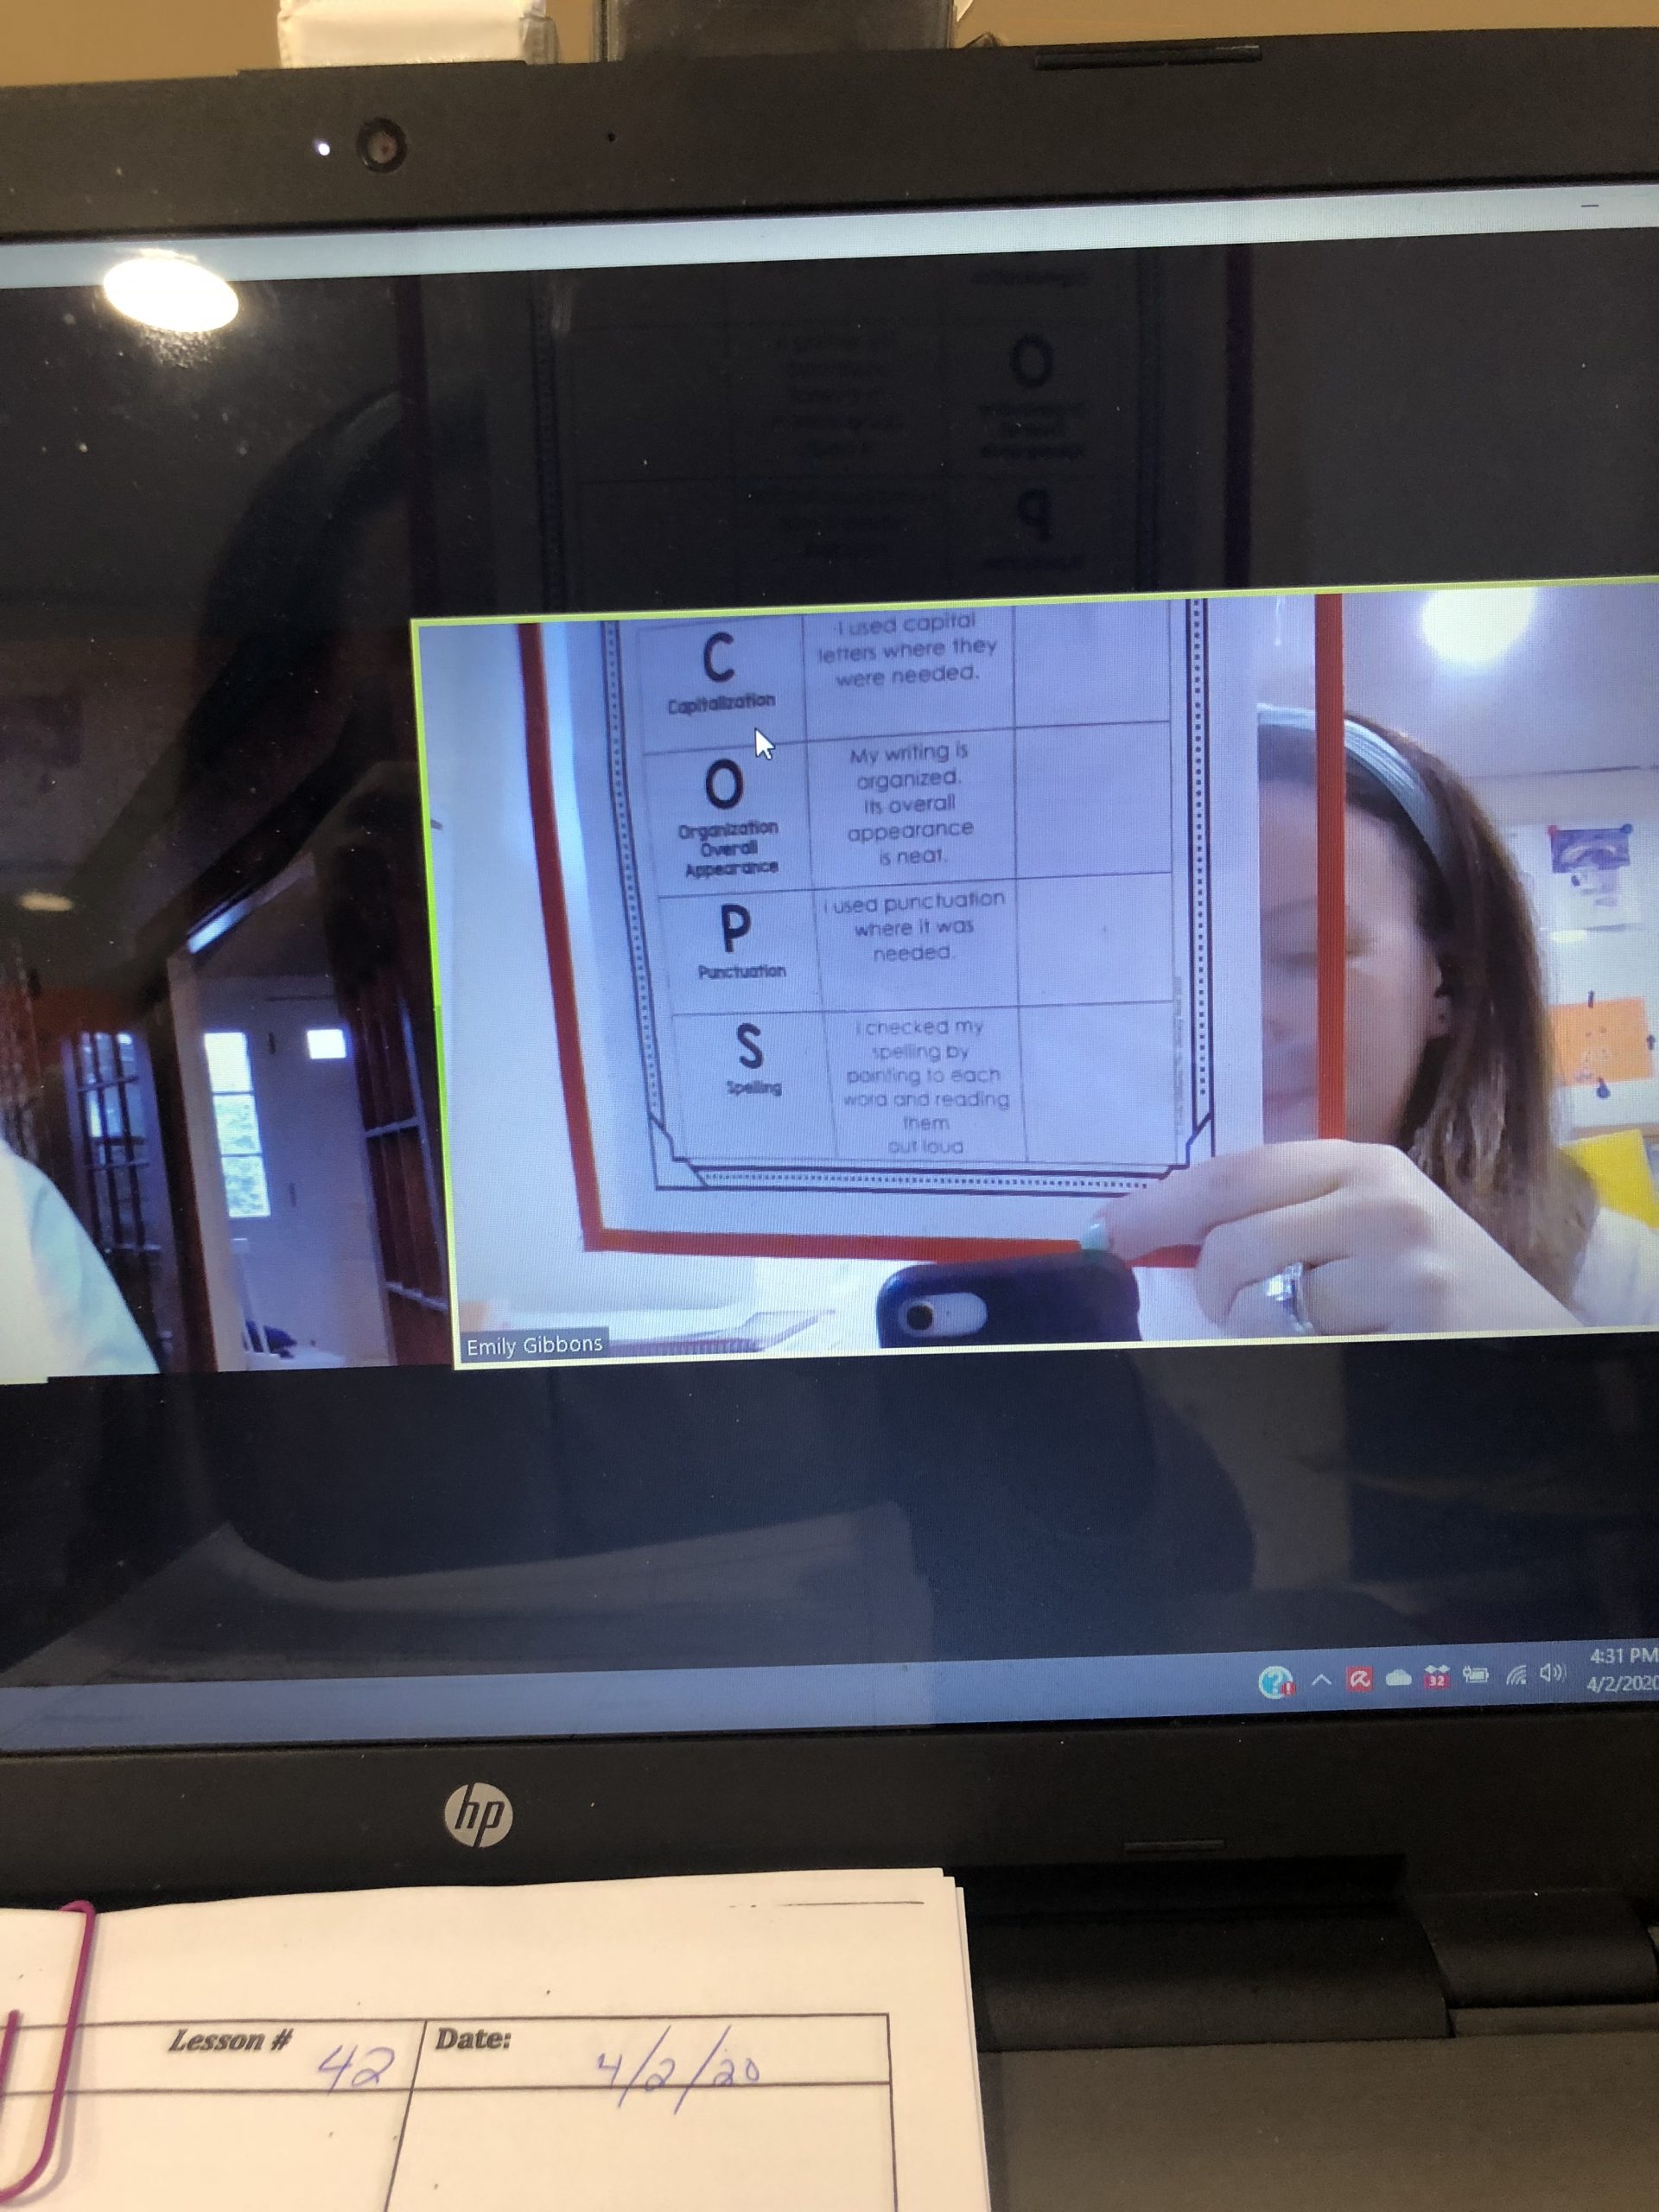
For dictation sentences, I have found it helpful to have students talk through the sentence as they write, go through the COPS procedure, and then have them hold it up to the camera. Then we can make any spelling corrections together. Tech-savvy students may be able to adjust their camera or phone to show you their work.
6. Reading
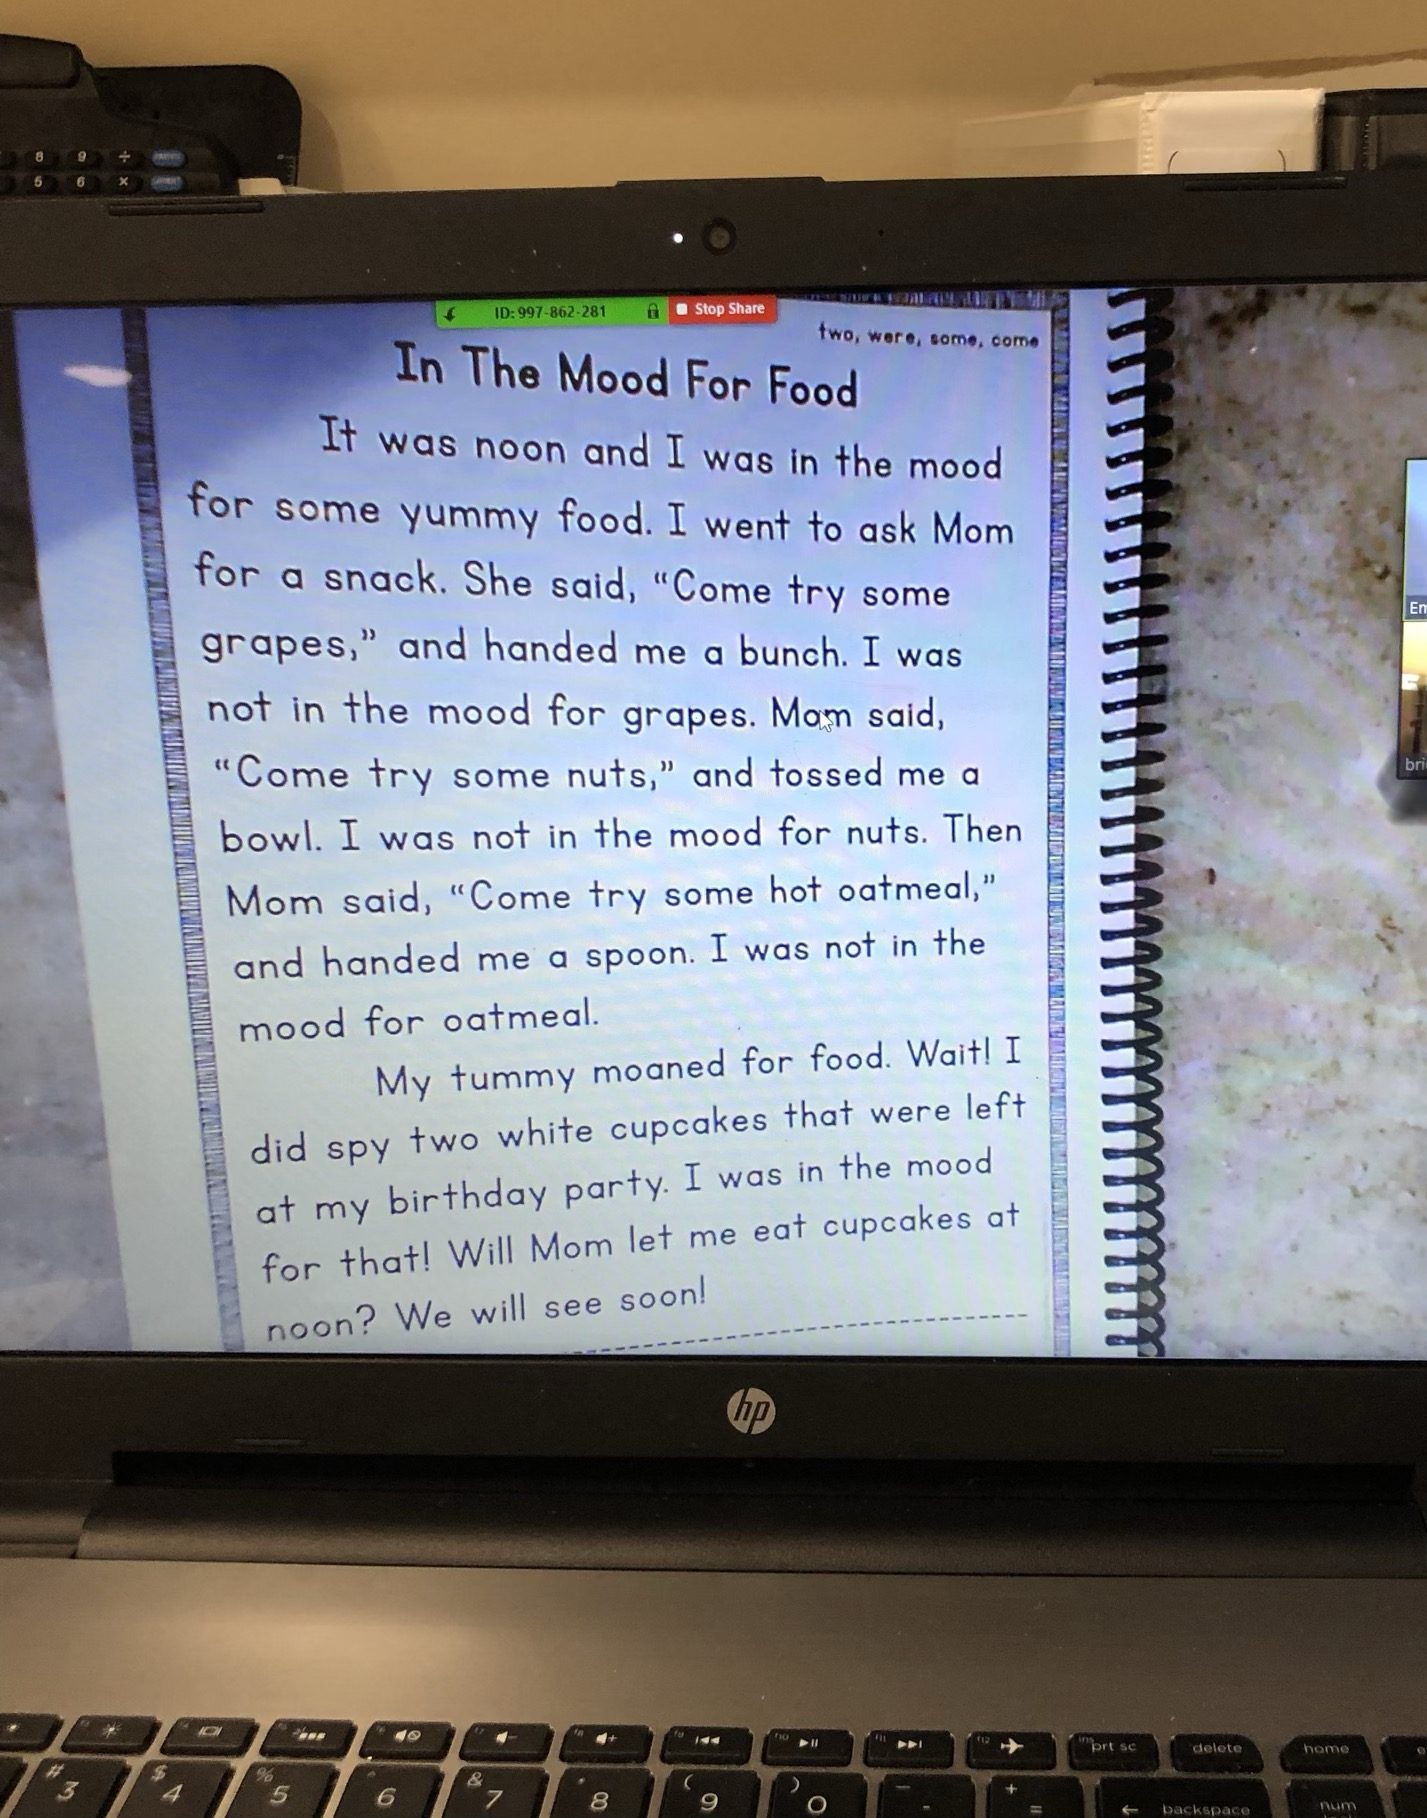
Reading is the whole reason we are working with students, but how can we read when we are far apart? A document camera is perhaps the best tool I invested in. This allows me to easily utilize my full collection of books and reading passages without any special preparation. It is also possible to use digital texts, use the snipping tool or grab tool to copy text passages into a slide show for screen sharing, or even provide text passages for parents to print out in advance.

Here are a TON of general tips to keep in mind!
For younger students:
Ask a parent to be nearby in case of technical difficulties. This could be something as simple as accidentally clicking something on their desktop and not knowing how to make it go away, or accidentally muting the call, or a connection problem. While not frequent, having an adult nearby can help a student stay focused and solve issues quickly. For younger students who may have difficulty formatting their writing on the page, consider providing a dictation worksheet either digitally or via mail.
Be flexible about student technology:
For example, depending on the platform you use and your student’s technology, things like screen sharing or offering remote access may not be possible. You can adapt if you know what to expect and have a plan B. Some of your students with focusing difficulties may find it hard to keep focused without the subtle touch of their hand, tapping their paper, or the ability to remove distractions. It may be necessary to adjust how much you can do in a single lesson and divide activities over two sessions.
You can always add games to practice and reinforce learning. I find reinforcing games online is an important way for us to maintain a connection with students and reward their hard work. I use games more frequently online than in live lessons to keep students happy and engaged.
Listen to season 1, episode 11 of the Together in Literacy podcast, The Importance and Benefits of Playing Games with Your Students, for more ideas on making things multisensory!
- Low Tech: There is nothing wrong with high-tech teaching with low-tech tools. If screen sharing isn’t a possibility for whatever reason, or if you have specific materials that are necessary, you can send parents materials in advance to print out.
- Sharing Materials with students: One workaround for document sharing through Google Docs. Parents and students can access the documents on their screen.
- Headset: Although it isn’t necessary for students, I strongly recommend teachers use a headset. This helps students hear your articulation more clearly and helps you in turn hear students. It also helps to reduce outside distractions when working from home. Five Tools for Online Tutoring provides suggestions.
- Allow time for transitions: It may take a few minutes to get connected at the beginning of a lesson and to transition from one student to the next.
Make things multisensory online:
I remind students that speaking and listening is part of the multisensory process. So, I want them to repeat words, tap sounds and say what they are writing even though I’m not there with them. I ask parents to have some sort of sensory material on hand if possible.
If you have a good stash of plastic canvas or scrapbooking paper, you could even send an OG “kit” with materials for tracing. At home materials as simple as whiteboards, magnets, cut-up squares of construction paper, or a few post-its can be things a child can move for a variety of tasks from phoneme manipulation to syllabication.
Check out my YouTube video, Multisensory Tool Kits For Online Tutoring!
Keep a growth mindset and remember self-care:
Online tutoring grows easier with time. Each lesson goes a little more smoothly than the last and technology is not without occasional hiccups. Keeping a positive and problem-solving attitude is valuable to avoid frustration both for you and your student.
Take a moment every so often to walk around and stretch, let your ears, neck, and shoulders relax, or use the restroom. Be careful to set limits to keep yourself happy and healthy.
Balance:
Strike a balance between being normal in times that are far from normal and holding space for children’s feelings. Children are struggling after several weeks of seclusion. They might miss their friends, their routines, their school, and their normal activities. There are days when this may all come to a head and interfere with learning. Acknowledging their feelings and letting them grieve is important regardless of their age. Taking a moment to check in with students at the beginning of the lesson and perhaps share a laugh is so valuable.
One final tip: Have a backup plan in place!
You and I know that technical difficulties can trip up the plans of your most exciting lessons. If your meeting software is disrupted, have a plan B. For instance, if Zoom is not working, consider a Google Meet Up, Skype session, or even a streaming service through Facebook called Streamyard. I’ve used it to screen share when I present to teachers. You can set the presentation mode so it doesn’t go live on Facebook, and will remain private between your FB account and only the family you’re tutoring.
This is a new experience for all of us. Some may love online tutoring and discover that they want to pursue more of this kind of work in the future, others can’t wait to see our students again face-to-face. And that’s okay. Our students need us to be there for them because dyslexia doesn’t take a break.
For more assistance with online tutoring:
- Start Online Tutoring (and Teaching) NOW! Join Tutor Success Academy, a beginner’s boot camp to get you teaching online in just ONE DAY (without the tech worry).
- Check out the resources for distance learning in my TPT store. I have many digital versions of my passages and other helpful materials.
- Read my blog post, Five Tools For Online Tutoring.
Are you looking for a list of words to use in your Orton-Gillinghma lessons? Word List Builder has got you covered!
Save time searching for words to use in your morphology lessons! Create customized and meaningful review, build your folder of words, create templates and games, and much more in Word List Builder.