How To Keep Your Orton-Gillingham Lessons Multisensory When Tutoring Online

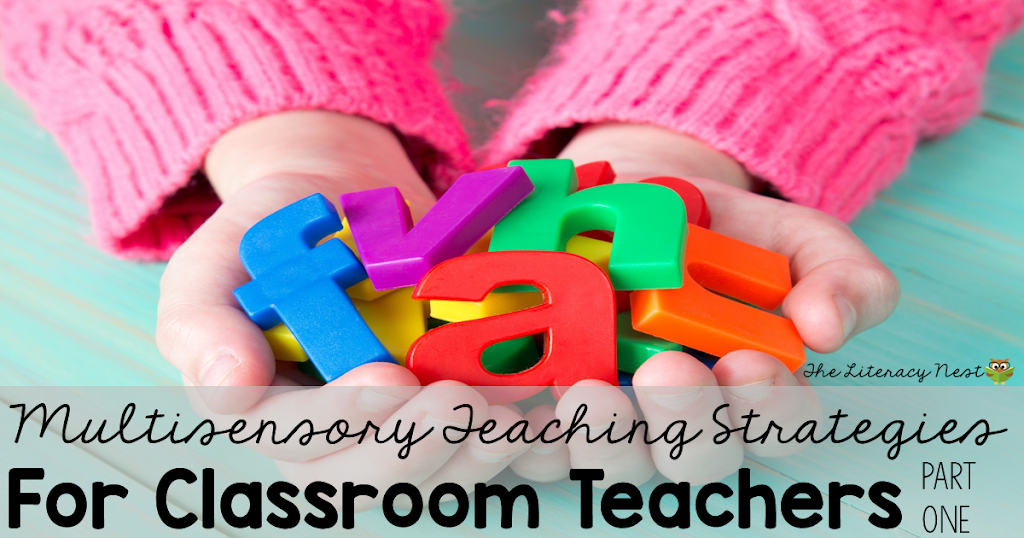
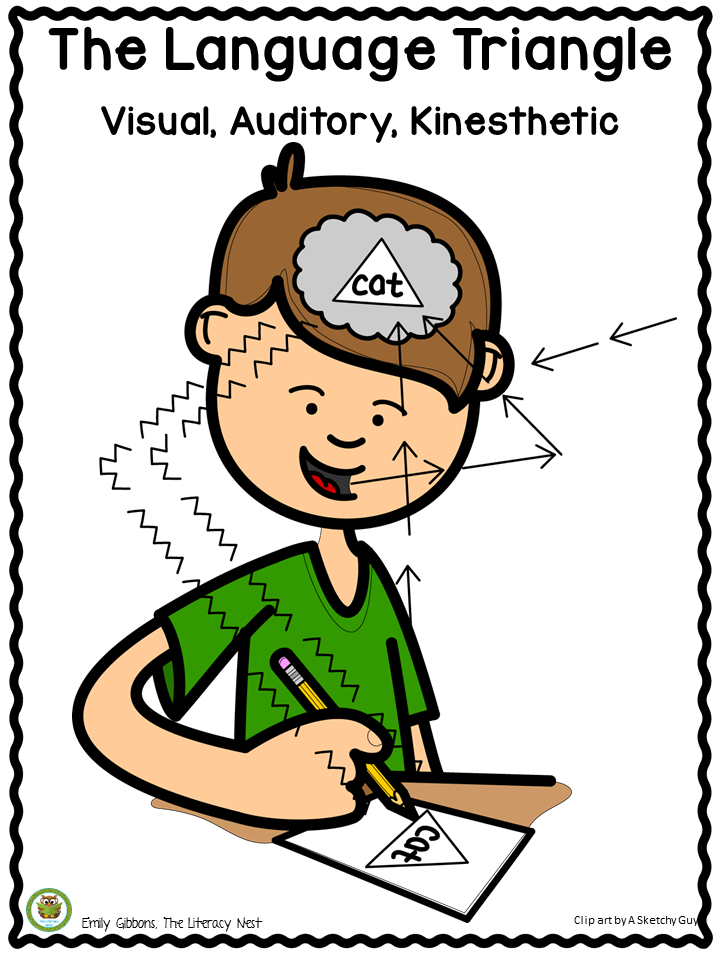
Multisensory teaching is a key element of instruction for students with dyslexia. Orton Gillingham has become synonymous with multisensory instruction, but let’s review what multisensory actually means. Multisensory teaching engages multiple senses for the student to support their learning. Ideally, this would involve the senses of sight, hearing and touch or movement. When I am explaining the principle to students, I tell them that by creating different pathways in their brain, they have multiple ways of retrieving information and remembering. This allows them also to link their learning strengths whether it be visual, auditory or kinesthetic to aspects of learning that are more challenging for them.
Most often our discussions of multisensory teaching involve making it fun or playful or using a variety of different materials to keep things fresh and fun. However, while multisensory teaching can include fun and fancy manipulatives and clever interactive activities, these aren’t a requirement for making learning multisensory and effective. It is possible to make learning multisensory in very simple ways. And indeed when a student may already be experiencing a lot of sensory input through extra screen time, simple may actually be more effective.
Use this free poster set to explain how multisensory strategies work in your lessons.
As you adapt to the challenges of online teaching, one of the challenges you may face is keeping learning multisensory. When you can’t use our fun manipulatives or interactive activities that you usually use in person. It is important to try to make each part of the lesson multisensory.
Here are some helpful tips for keeping your lessons multisensory.
Toolkits
1. Create a tool kit for students that you send via mail. This would ideally be made up of lightweight, easy to mail manipulatives for the child to use. Some examples of such materials would include felt squares, plastic counters, a piece of plastic canvas, or textured scrapbooking paper. Watch this short YouTube video for more ideas. (Please subscribe if you found it helpful.)
Check your Audio
2. Since listening is a key part of multisensory instruction be sure that you have clear audio. It is important that students are able to see and hear you. For difficult to differentiate sounds, it can be helpful to remind students to watch your mouth. Having a good quality headset may help.
Engage Multiple Senses
3. It is important to make sure students use multiple senses throughout different parts of the lesson. Students are typically reluctant and need extra encouragement to go through all the multisensory steps when writing. I have found that the fact that I can’t see the student’s paper WHILE they are writing has made them generally more willing and invested in taking the steps of saying the word, sounding it out, spelling it orally, saying the letters while writing and rereading the word. This is great not only because it allows me to more easily monitor their writing from afar, but because they are using their ears to hear the words, their eyes to see the words, their mouths to say the words, and their hands to write the words.
Just as it is important to use multisensory strategies in each lesson component, it is important to have students engage their senses during error correction by tracing and verbalizing the letters or sounds.
Play Games!
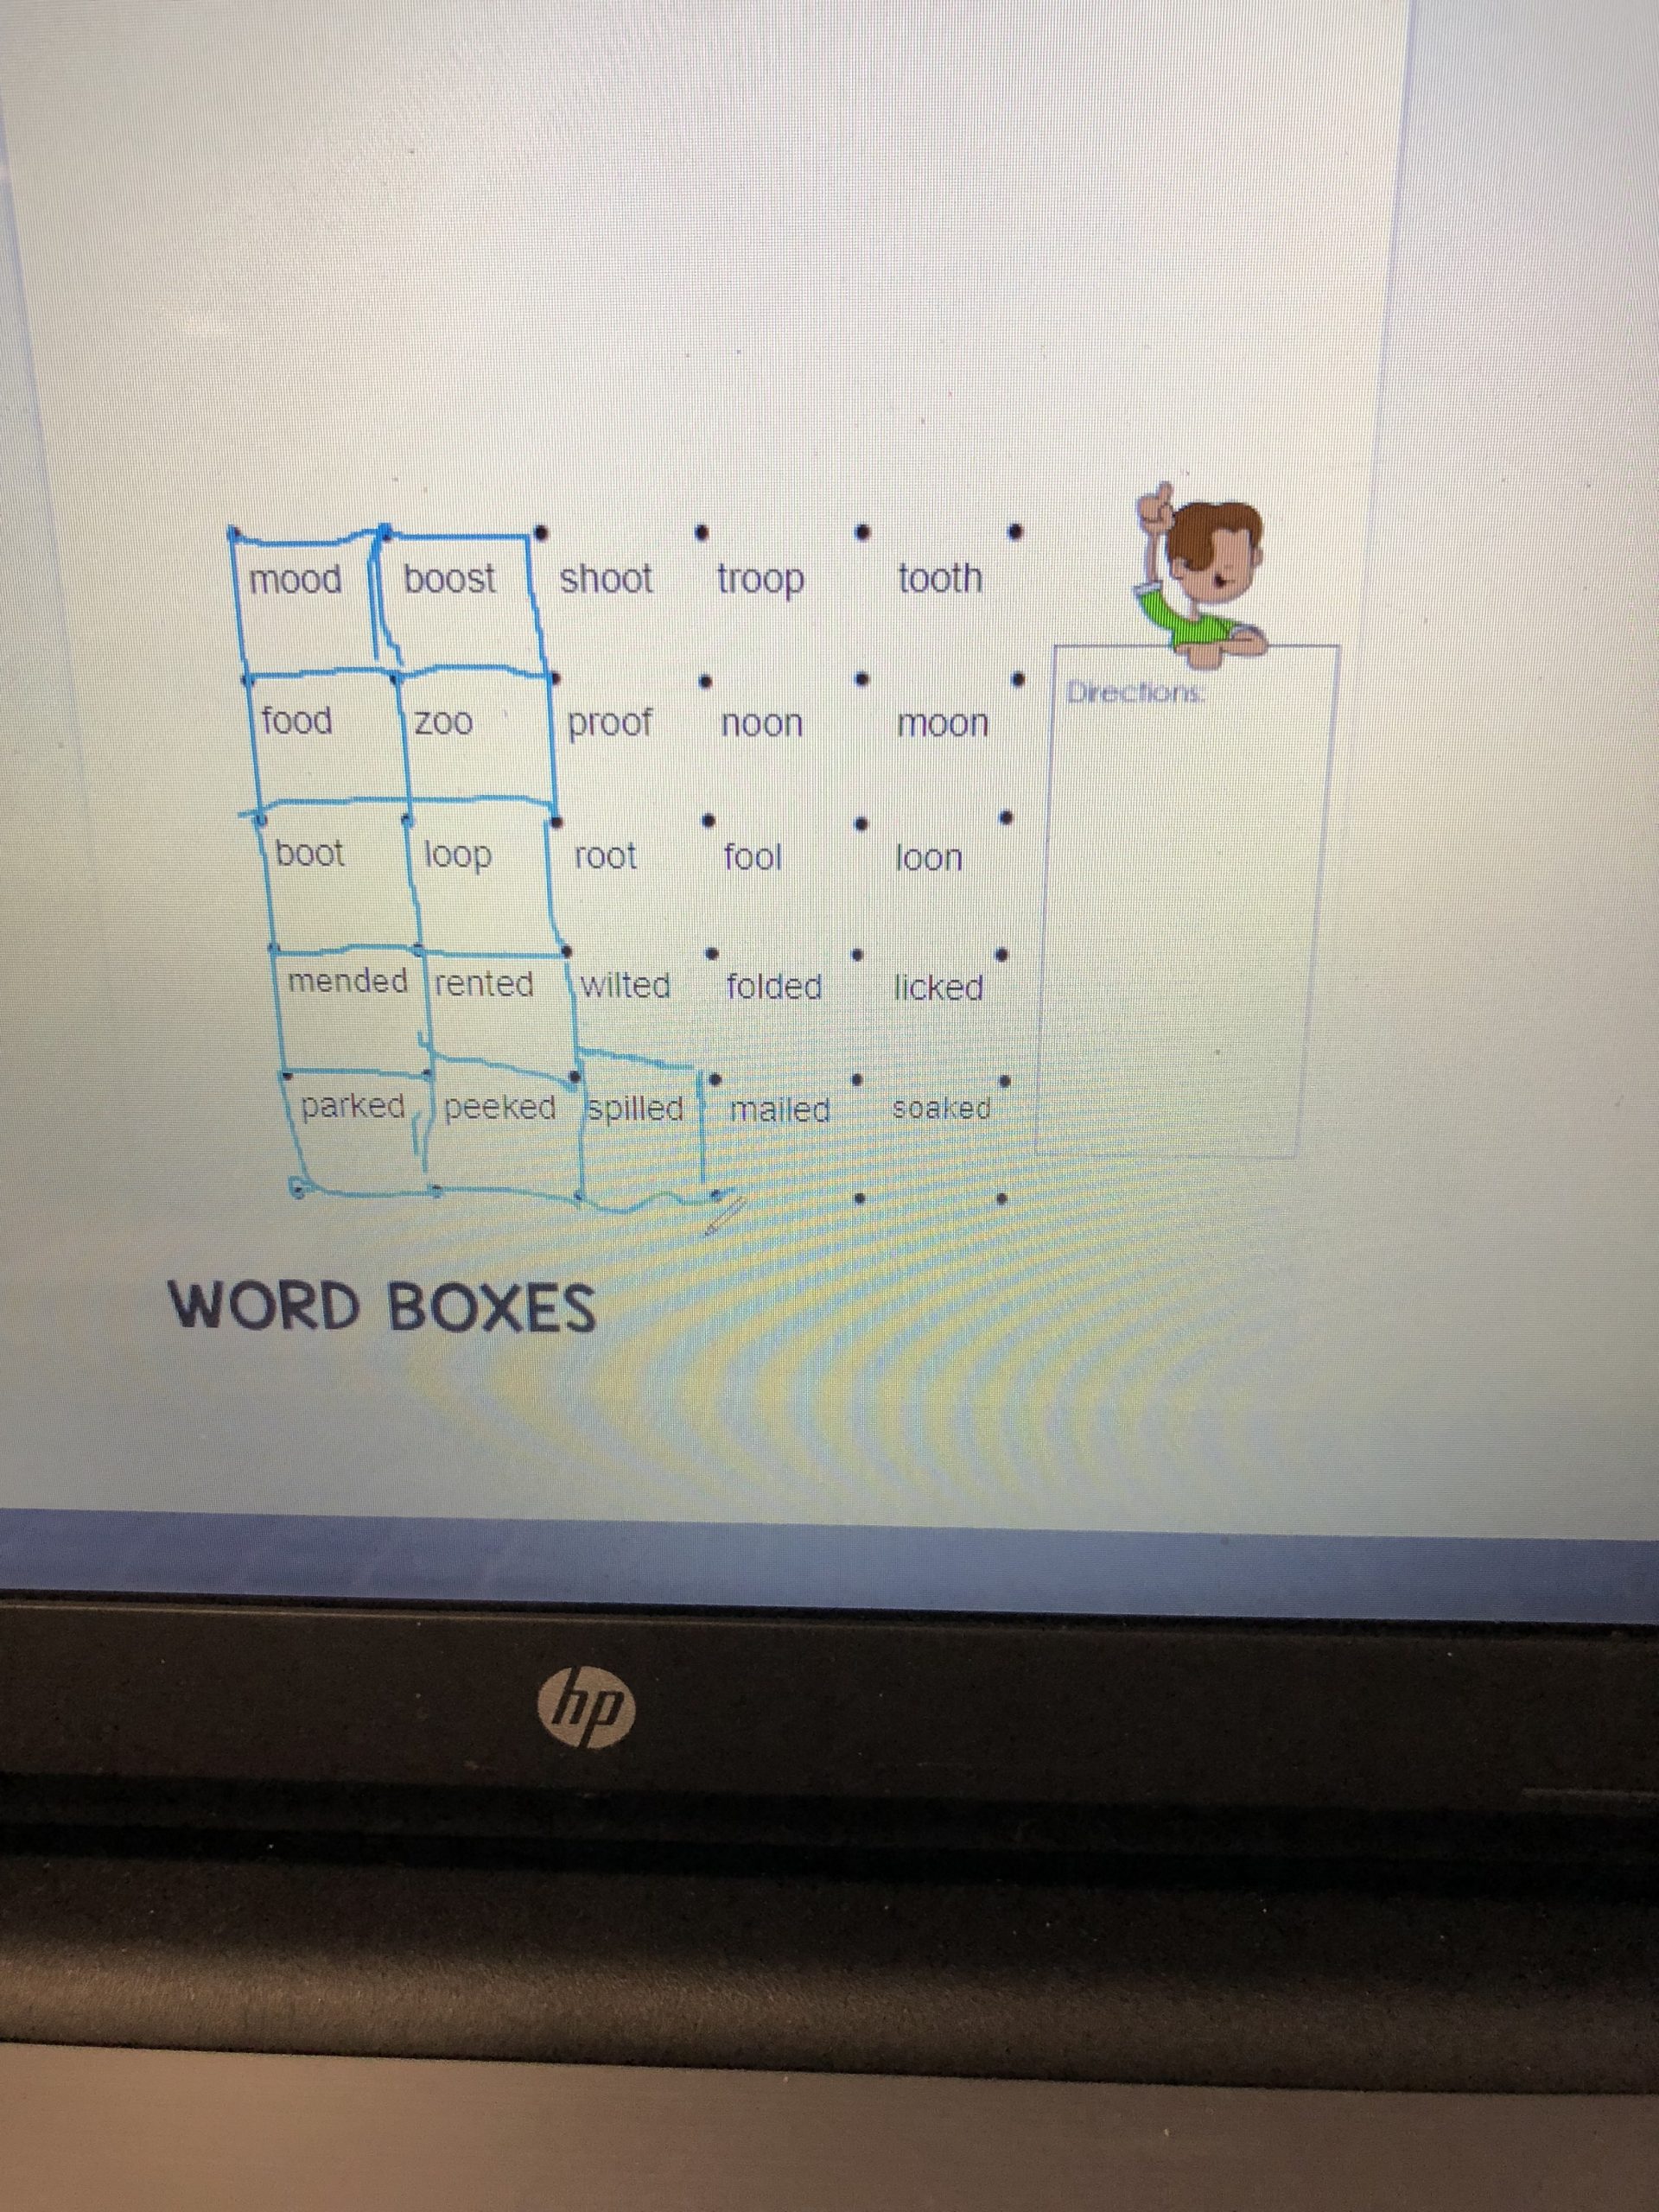
4. Use games that have some interaction like letter tile manipulation. While clicking or dragging is not giving as much feedback as the manipulation of real objects, it helps to keep students engaged and activate more areas of their brain. Sending printable versions of the game to a parent to print and play is another way to allow multisensory practice between tutoring sessions. Find this FREE game board in the free resource library for email subscribers.
Get Moving!
5. Incorporate movement in short mini breaks. Students are spending large periods of time sitting at computers during this time of virtual learning. As adults, we struggle with sitting still, for children this is terribly difficult. Students can do jumping jacks while they spell learned words or incorporate gross motor movement in other ways. This not only incorporates movement into their learning, but also serves as a very necessary stretch break. Read, “Ways To Incorporate Movement Into Orton-Gillingham Lessons” for more ideas.
*You’ll can download a FREE set of cards to use in the games section of the free resource library on my site. You may access the free resource library if you are an email subscriber.
Annotating Tools
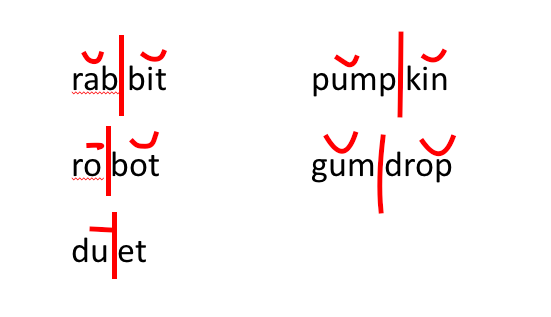
6. Annotating tools are a great way to make things more multisensory. Students can use the tools to mark up and divide words, scoop phrases or locate morphemes. Depending on what kind of device the student is using, they may need to access this capability in different ways whether through the video conference software, a tool on their tablet or by utilizing a shared document.
Slideshow Tools
7. Using colored squares on a slideshow presentation, students can drag and move squares as they manipulate sounds, letters, symbols, syllables or morphemes. For example, a student near the beginning of their Orton Gillingham program might separate a CVC word into its individual phonemes, add or delete phonemes or change beginning sounds. A more advanced student may break a long word into prefixes, roots and suffixes as they learn to locate and use a new Latin root.
You can download this FREE editable presentation in the free resource library on my site. You may access the free resource library if you are an email subscriber.

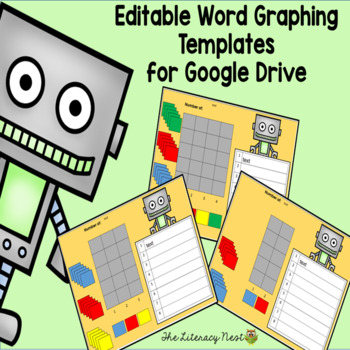
This FREE Robot Graphic Activity is a great tool for graphing phonemes or syllables.
It’s open ended to use with any words. Use it in Google Drive.
The upheaval caused by the health crisis can be very challenging for children with learning differences. Remediating dyslexia requires consistency and intensity and structure all of which may look very different during our current circumstances. Careful planning can help make our important time with students online into valuable and meaningful learning time and ensure that we continue to make excellent progress with our student while we eagerly await meeting with them in person once more.
I hope you’ve found these tips useful! Be sure to read “Practical Tips for Orton-Gillingham Lessons When Tutoring Online” for lots for advice.
Be sure to become an email subscriber so you can enjoy access to a FREE resource library on The Literacy Nest! Find out more in this video.
Thank you for stopping by!


