12 Fresh Ideas for Your Phonogram Card Drills
After working with a student in Orton-Gillingham lessons for awhile, the routine can become very well known. Guess what? That’s a good thing! But… if you don’t take time to shake things up every now and then, you run the risk of having certain segments become a bit mundane. You really don’t want that to happen! These fresh ideas for phonogram card drills can help.
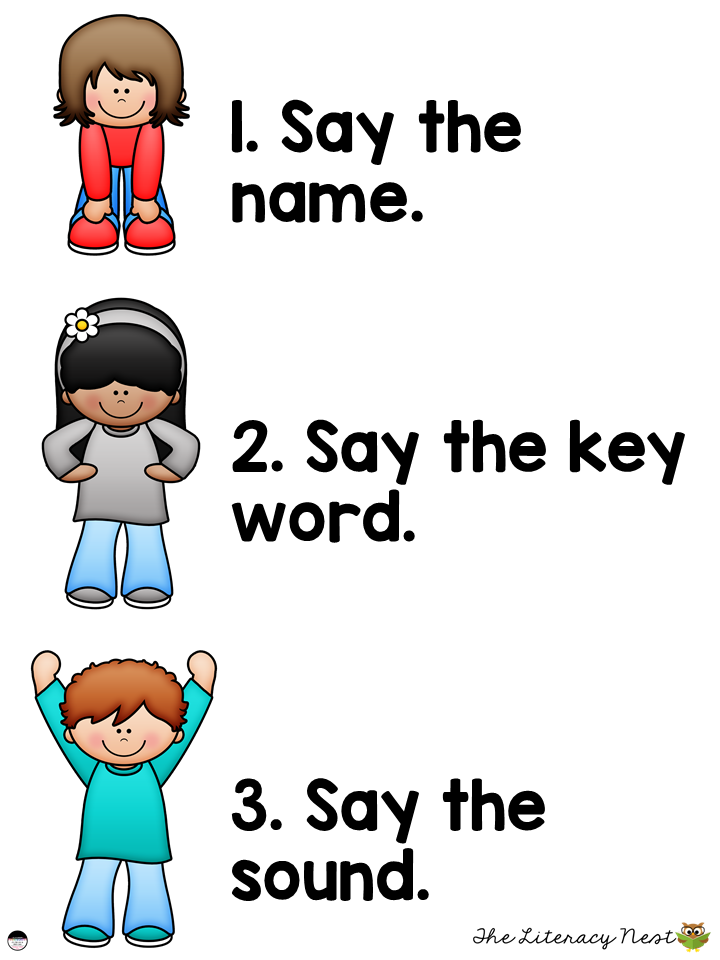
At the beginning of an Orton-Gillingham three part drill, there is an auditory portion with a deck of phonogram cards. The routine is to hold up a card to the student, say the name of the phonogram, the key word and the sound it makes. For instance, for the letter A, you would say, “A, apple, and (then say the short a sound) a. As a student progresses, they may have several responses per card. For instance, after learning the three sounds of suffix ed, their replies will be,
- ed, jumped, t,
- ed, rented, əd,
- ed, sailed, d
Teachers and tutors may use the drill deck for a variety of multisensory practice. Multisensory techniques are one of the hallmarks of the Orton-Gillingham approach because you are helping to create newer and stronger neural pathways for a child’s brain to process language. You may see them used for:
- Visual Drills
- Auditory Drills
- Kinesthetic Drills
- Blending Drills
- Introducing new phonograms
If you have students who’ve gone through the Orton-Gillingham three part drill for awhile and are starting to feel a bit ho-hum about this part of the lesson, let me share some fresh ideas with you that will…
- Get your kids THINKING CRITICALLY.
- Get them MOVING.
- Keep them engaged.
Building in a sense of structured choice makes a child feel like they are a part of the learning process, which will make them more invested. Offering structured choices is especially helpful when you are working with resistant students.The ideas below are mainly for students who are well established with routines. I wouldn’t recommend mixing up the routine with a brand new student.
First, you will need a set of phonogram cards. I have a set from EPS or my own Orton-Gillingham card decks, depending on the students. Be flexible and diagnostic, but most of all, use works for your student. Second, choose the cards you need for your lesson. The phonogram card drills shouldn’t take very long. Five minutes is a good length of time. Then, once you have your drill deck ready, take a look at these phonogram card drills I’ve listed below. I have tried them all with kids and they really love them.
12 Fresh Ideas for Your Phonogram Card Drills
- Spill It: Shuffle and throw all the cards on the floor. Students only have to drill through the cards that are face up, or alternatively, the ones that are face down. You or the student can choose.
- Leave It Out: When you do the visual drill, have them leave a part out of the drill. For instance, have them only say the key word, or only the sound.
- Trace It: Use a sand tray, shaving cream, gel board, plastic cross-stitch, felt board, Tac screen or even just simply tracing the phonogram on the table.
- Smash It: Roll three balls of play-dough (one ball each for the name, the key word and the sound). Students can push, smoosh or smash each play-dough ball as you drill.
- Sky-write It. Using two fingers and a straight arm, sky-write the phonograms as you drill each card.
- I’m The Teacher: Kids love playing the teacher. Give them a small deck of cards where you do the drill while they hold up the cards. This is a good listening and monitoring activity.
- Ask It: I spread the cards out on the table and ask questions like: Give me all the digraph cards. Give me the card that says /a/. Which cards are the diphthong cards? Be sure to have the child reply back to you with a verbal response, instead of just handing the cards to you and saying nothing. Eliciting a verbal response, completes the multisensory circuit you are creating with the student and it’s a good exercise for replying with a complete thought. I REALLY like this one, because it forces kids to get out of the routine and apply their learning in different format. It’s great for categorizing and sorting, too.
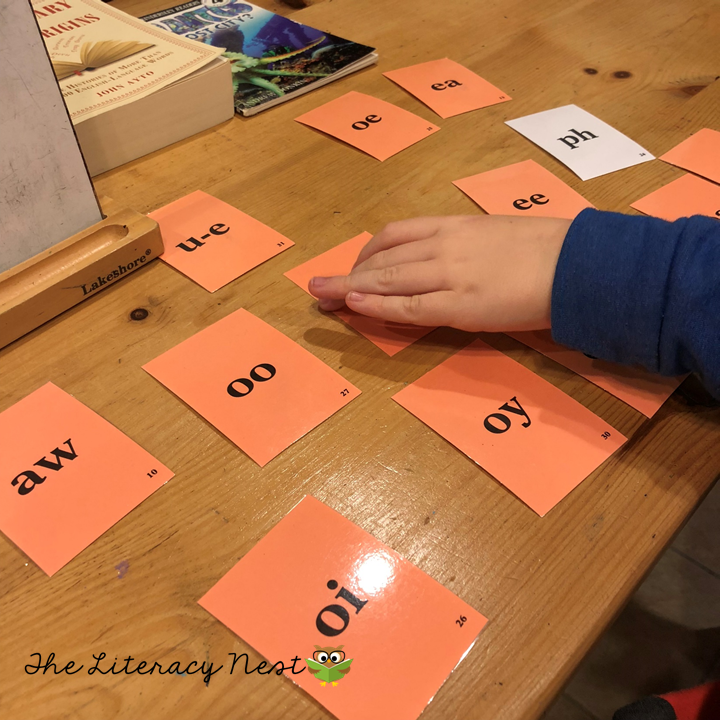
- Which One Is Missing? This is a good drill with children who have practice with sounds that have multiple grapheme choices. Pick out all the cards that will say /e/ (the sound of long e), BUT leave one out. Spread the cards on the table, face up. Ask: Which card did I leave out that also says /e/ (the sound of long e)?
- Hot Lava: If you have large versions of the drill cards, this game is perfect. Find them in this phonogram drill deck, if you need any. Laminate and spread on the floor. Those are the stones. Call out a phonogram card for them to step on and reply with the name of the phonogram, key word and sound, without touching the bare floor or rug (the hot lava).
- Squish it. Sometimes having a stress ball while you drill is helpful for focusing attention. Kids can squeeze it every time they drill a new card.
- Throw it. Use a Koosh ball or any ball to toss back and forth while you drill. First toss: say the phonogram name. Second toss, say the key word. Third toss: Say the sound.
- Use your whole body! Imagine the body being broken into three parts for the drill. The toes will be the name of the phonogram. The waist is the key word. The head is the sound. You want the head to be the sound, so you can watch their mouth formations. Print out this free phonogram drill activities visual. You can switch up the movements to keep things fun and interesting. This could be a real workout and get the blood flowing. If you have a physio-ball in your classroom or tutoring facility, try while the student sits on the ball. They’ll be building core strength and balance while drilling their phonograms!
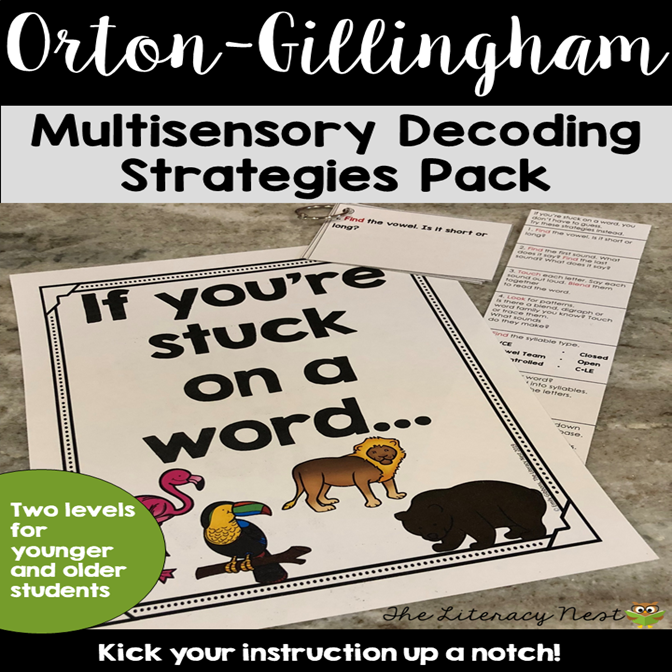
Check the Orton-Gillingham category of my store if you are looking for Orton-Gillingham materials.
Which ones have you tried? Are there any new ones you plan to try out? Let me know in the comments.

Save up to 25% off in my TPT store on February 2-4, 2020! A couple of new resources are listed below for you to check out.
Note: One newer growing bundles is already deeply discounted, so I will not be including it in the sale.
I’d also love to share a tool that will cut some of that lesson planning time down for you.
Word List Builder is a time-saving, web-based tool that is going to streamline the lesson planning process for you.
Since it’s all web-based…
- You can use Word List Builder anywhere.
- Try the mobile or desktop version.
- No need to bog your hard drive with lots of files or clunky software that becomes outdated.
- Updates to the site are done automatically for you.
What can you do with Word List Builder?
- Search for words with a highly unique search engine by spelling patterns, syllable types and division and morphological patterns
- Create folders to save the words you searched.
- Export the words from a folder into a template: Create word lists, word cards, phrasing templates for fluency practice and games.
- Adjust for font size, font type and formatting
- Save the templates you create.
- Print and use what you made right away!
In this part one tutorial video, I show you how to set up a folder and begin searching for words. I have a tutorial for Word List Builder Part Two and Word List Builder Part Three.
You can catch them on the Word List Builder site or on The Literacy Nest YouTube Channel.
Sign up for a 21-day FREE trial of Word List Builder. Simply create an account, login and you’re on your way!
Thank you for stopping by my blog today. 🙂

7 Comments
Comments are closed.




Needed this!
Thank you for these ideas. We get so tired of the same old way!!! 🙂
Love these ideas!
Thanks so much! Do you know of any programs that have these cards available for use with an interactive Whiteboard. You can choose the cards you wanted to work through and then could flash through them. Then it could use those sounds to go through the blending board routine?
This comment has been removed by the author.
I'd like to know the answer to this one too 🙂 Using the interactive white board would be great!
Thank you so much! Great ideas.