
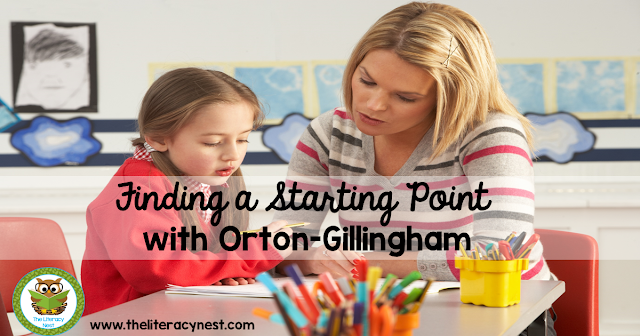
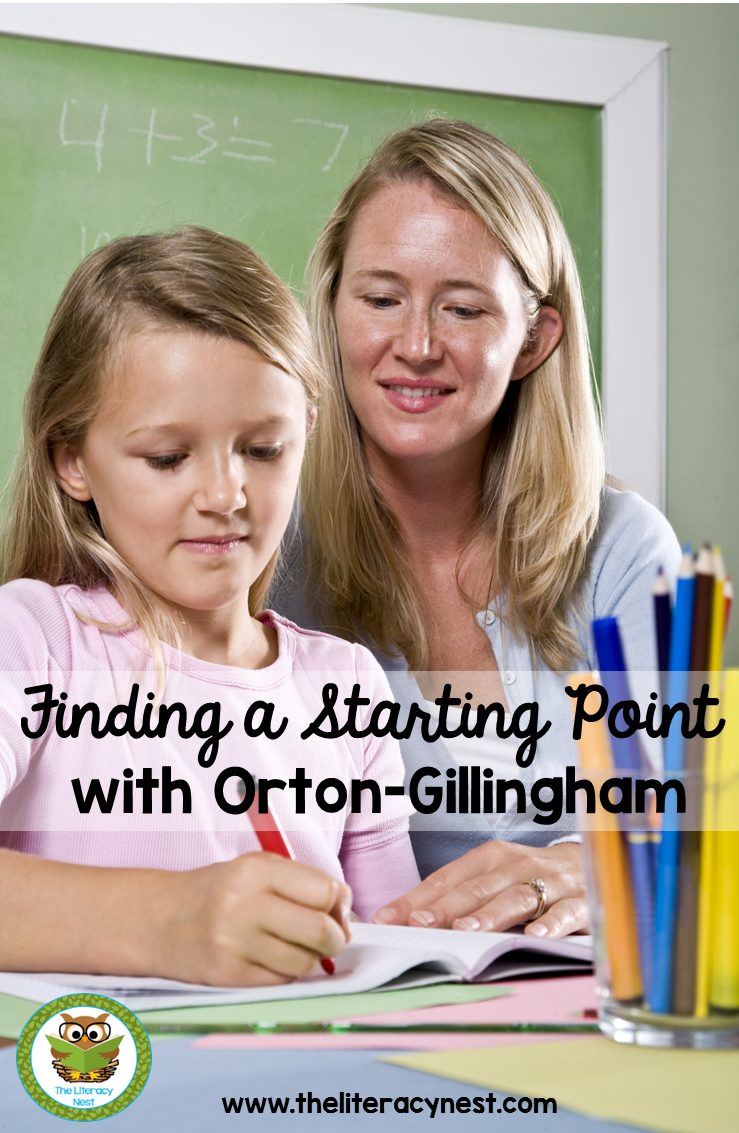
Starting Orton-Gillingham: How To Find A Starting Point With This Approach
Hi Everyone! I’m going to walk you through a tricky part of planning your Orton-Gillingham lessons today: finding a starting point. As a teacher or tutor using the Orton-Gillingham lesson plans, you want to make the best choice for your student, but that means gathering some pieces of the puzzle that show who they are as a reader. Spending time doing that will help you make an informed decision and get your student(s) on the right track. Finding a starting point is a very important step when beginning your Orton-Gillingham lessons. Having the proper tools to help you make this decision for your students is critical. I use this resource to assess my students when they are about to begin somewhere in a particular level or are ready to exit a level.
You don’t have to feel like an amateur tightrope walker when choosing a starting point, even if you’re new to using Orton-Gillingham. Once you’ll go through this process, you’ll be able to choose resources for dyslexic learners that are truly effective
Starting Orton-Gillingham begins by asking yourself:
- Why is this child being recommended for Orton-Gillingham?
- What do they have difficulty with in reading?
- What services are they currently receiving? Are they working? If not, why?
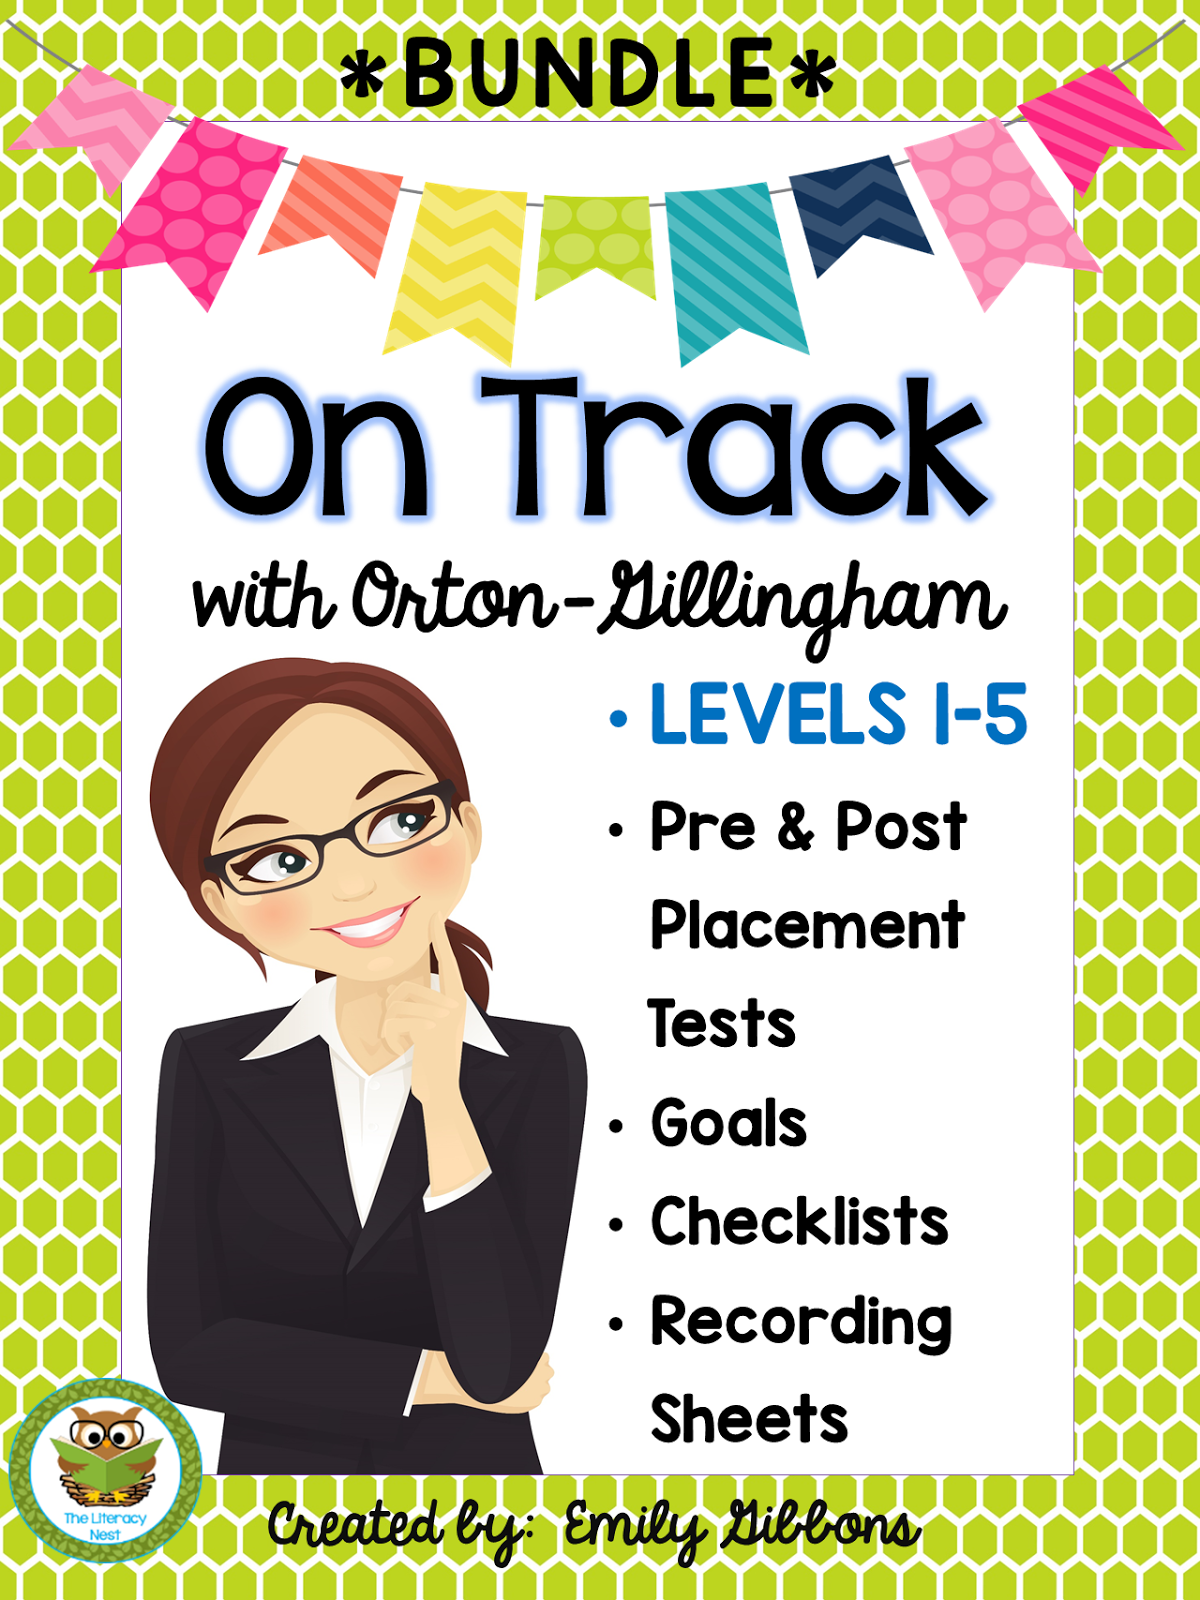
I created an assessment system called On Track to help determine a starting point for your students when using the Orton-Gillingham approach and my materials. This is only one of the tools I use when I first meet with a student.
When Starting Orton-Gillingham, I’ve used a variety of assessments such as:
- Oral reading fluency benchmark assessment,
- Nonsense word assessment
- Rapid naming assessment
- Spelling assessment (I like the one from Words Their Way),
- Reading assessment that includes a running record, retelling, and comprehension component.
- Anecdotal evidence from families and teachers is also very helpful.
After gathering data, I am able to make a better judgment as to which O.G. pre/post-test I will need at a particular level. Using a pre and the post-assessment system will give you a better snapshot of your student’s reading ability. Any other testing information provided from inside or outside the school along with copies of an I.E.P. will help as well.
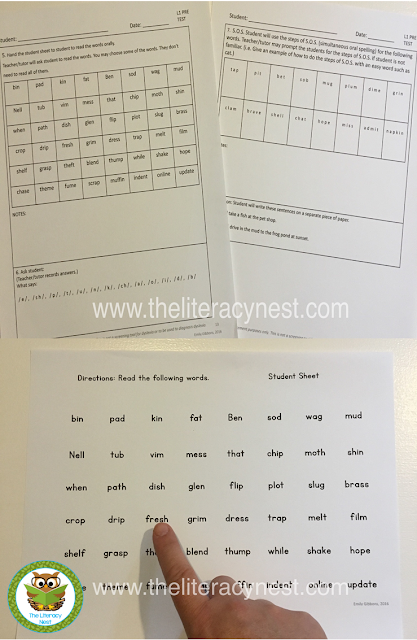
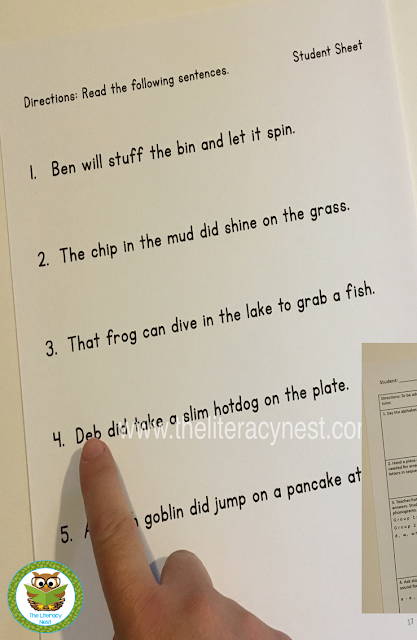
Once I administer the pre or post-test, I carefully look at the errors and gaps. I use this Orton-Gillingham progression chart to choose my starting point and begin planning my lessons based on my data.
Learn more about How a Spelling Assessment Can Inform Your Instruction.
PLEASE NOTE: This is NOT to be used to:
- Determine Special Education eligibility.
- Diagnose Dyslexia or other reading disabilities.
- Be used as a screening tool for Dyslexia or other reading disabilities.
Preparation for the pre/post assessment:
- I prepare a deck of phonogram cards arranged in the order of presentation to the student. I always have this ready prior to the assessment so you’re not searching for the next card in the deck. Click here to purchase a deck.
- Make copies of assessments and student sheets.
- Have pencils, magnetic letters, and a magnetic board.
- Find out whether your student is right or left-handed. If they are right-handed, sit beside them to their left, and vice versa if they’re left-handed. This is so you can observe and take notes without their hand or arm obstructing your view.
- Some may like to tape-record certain parts of the reading. Be mindful of your student. This might make them uncomfortable. During The AssessmentYou will notice that the On Track assessment I use follows the order of a typical Orton-Gillingham lesson plan. I chose words and sentences that follow the order of each level. It can take about 45 minutes to an hour to administer. Take your time and reassure your student that they are not being timed and to do their best. Explain that it is just a way for you to learn about them as a reader. Keep prompting to a minimum. If you are finding your student is getting frustrated at any point, use your best judgment and cut a portion of the assessment short if needed. If they are making numerous errors as you progress to harder words in any area, this is an indication of where they will probably need to start in the progression of O.G. In short, try your best to administer the entire assessment, without frustration or tears. Be sure to have a little prize or incentive when you finish a job well done. A sticker, a special pen or pencil, or a piece of candy can go a long way.
Please note: On the teacher recording sheets, I adjusted the spacing on the font. This is so you can make notes, mark miscues, or note self-corrections as needed above or below each word.
After The Assessment
I tend to take a short time going over the assessment, finish making my notes, and then put it away. Then I go home and analyze it later. Carefully checking and analyzing each section, I look to see where the errors are with the progression chart beside me.
- Look for patterns in a child’s errors.
- Where are the gaps?
- What does this child need?
- What is the next step?
I strongly suggest starting on the progression chart at the first error they make. Then your lessons will progress in that order. For example, if a child knows phonograms a, b, c, f, h, and i, but has an error at j, your FIRST O.G. lesson will be on the letter j. It’s ALWAYS better to start further back on the progression chart than to begin too far ahead, see gaps and then have to backtrack. O.G. lessons should feel EASY to a child when they begin with you. This will build their confidence.
If you are administering the post-assessment to see if they are ready to progress to the next level, your student should have very few errors overall. One or two errors on a post-test indicate that you can add in additional review within the next level. If there are numerous errors, it is recommended that the student remains within that level. In that case, create review lessons to reteach to mastery.
The Next Step… Checking for Mastery
Read: “Checking For Mastery In Orton-Gillingham Lessons” for further tips.
Resource Links
You can find the On Track assessment resource in my TpT store. Click here for the bundle.
Looking for even more tips?
Read: “What Does An Orton-Gillingham Lesson Look Like?


It’s sale time! Save up to 25% off in my store on 11/29 and 11/30 with code CYBER21. Thanks for the support!

Yoast SEO
I’d love to share a tool that will cut some of that lesson planning time down for you.
Word List Builder is a time-saving, web-based tool that is going to streamline the lesson planning process for you.
Since it’s all web-based…
- You can use Word List Builder anywhere.
- Try the mobile or desktop version.
- No need to bog your hard drive with lots of files or clunky software that becomes outdated.
- Updates to the site are done automatically for you.
What can you do with Word List Builder?
- Search for words with a highly unique search engine by spelling patterns, syllable types and division and morphological patterns
- Create folders to save the words you searched.
- Export the words from a folder into a template: Create word lists, word cards, phrasing templates for fluency practice and games.
- Adjust for font size, font type and formatting
- Save the templates you create.
- Print and use what you made right away!
In this part one tutorial video, I show you how to set up a folder and begin searching for words. I have a tutorial for Word List Builder Part Two and Word List Builder Part Three.
You can catch them on the Word List Builder site or on The Literacy Nest YouTube Channel.
Sign up for a 21-day FREE trial of Word List Builder. Simply create an account, login and you’re on your way!
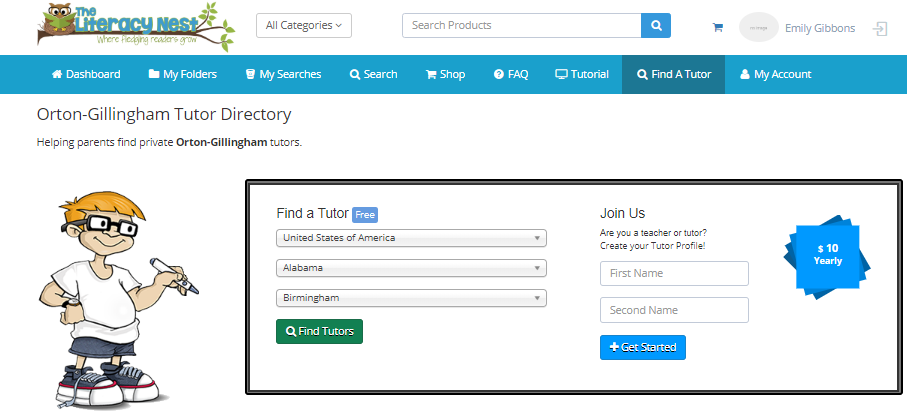
Calling all Orton-Gillingham tutors and therapists! I have a directory of qualified educators on my site for parents to search. Join or search when you click on “Word List Builder” at the top. When you are there, click on “Find A Tutor” or go HERE. You may register to enter your contact information in the directory for only $10 a year. Families may search the directory for free!
A HUGE thank you for your continued support of me, my store and my website! It is greatly appreciated!


I'm a trained OG instructor. Please add me to your private list.
i'm a trained OG instructor. Please add me to your private list. Thanks!
I'm a trained OG instructor. Please add me to your private list.
I'm a trained O-G instructor beginning work on my practicum. Please add me to your private list. Thanks!
I am a trained OG tutor having completed Level 1 certification. Please add me to your private FB group.
Thank you!
I am a trained Orton tutor. Please add me to your list.
Thank you.
I'm a trained O-G instructor beginning work on my practicum. Please add me to your private list. Thanks!
I am a trained O-G instructor. Please add me to your private list.
Thanks
Hi there! Search “Orton-Gillingham Instructors” in groups on FB and you can request to join there. Thanks!
I am a trained OG tutor. Please add me to your list. Thanks
Hi there! Search “Orton-Gillingham Instructors” in groups on FB and you can request to join there. Thanks!