
How To Organize Phonological Awareness Supplies

(Contains an affiliate link.)
Phonological Awareness contains a mixture of foundational literacy skills which are critical for reading success. It’s hard to argue against the need to provide a strong phonological awareness curriculum, particularly in the younger grades where we can identify and remediate early to avoid later reading failure. We want to hit em’ hard and often in grades Pre-K-2!
One question I get asked a lot is how to organize supplies for phonological awareness. It’s a lot! There’s children’s books, manipulatives, printables, game materials and so much more. Trying to find a way to make a robust, phonological awareness curriculum work logistically is sometimes half the battle.
Things to consider may be:
- How to keep supplies centrally located
- Are they easily accessible
- Will they be durable for long-lasting use
- Where are some kid-friendly containers I can use.
- It has to be easy to assemble once. I won’t be required to repeat prep, which takes a ton of time
I hear you loud and clear. Today, I am going to do a run down of the materials you might want to consider purchasing and how to store them. If you purchased my Phonological Awareness Bundle, you’ll want to listen up, because I will be referring specifically to this resource quite a bit.
 |
| Phonological Awareness Bundle |
Printing and Storage
What I am about to explain might feel overwhelming at first. BUT, if you do this one time prep, you won’t have to do it again. It’s true! You’ll be able to reuse the materials over and over. If you have a helper to cut things out for you before laminating and after, that’s great. I highly recommend finding a helper for the prep. A parent helper, or even a middle or high school student looking to make a little extra spending money will easily be able to cut things out and save you some time.
Before you print out the phonological awareness bundle, prepare for it with ink cartridges, copy paper binders, three hole punch, page dividers and tabs, OR hanging file folders, whichever you prefer. When you hit print, commit to a long print job or bring it to an office supply store.

Teacher Task Cards
The very next thing I want you to do is pull out the TOC and place it aside from the stack of printed pages. After that, pull out all of the teacher task cards. These have the lessons on them. Cut them out, and sort them into stacks according to the phonological awareness skill they practice. For instance, make piles of all the listening task cards. Then, laminate each card, cut and trim, and hole punch where the guide holes are at the top of each card. This portion is probably going to take the most time to set up.

When all the teacher task cards are done, you can hang them all on the photo stands, on metal rings, or store them in the IRIS craft keeper cases by skill. They fit really nicely for me in the craft cases until I am ready to pull them out and hang them on a photo stand. You won’t be able to fit every task card for the entire unit on one stand, but you will be able to hang about 20 cards at a time easily.


Assessment
This bundle includes an assessment portion in a separate file in the zipped file. I recommend printing out the whole file as your master copy and storing in a skinny 1/4 inch binder to make it easy to flip through. When you are ready to assess a child, take the master copy and print the whole assessment of the subtests you need.
Student Materials and Games
Now that you have printed the task cards and assessments, use hanging file folders in a crate to drop in pages for the different skills. This may end up being a temporary organizational solution, but will help you separate out what you need for each skill. Keeping the TOC and sorted task cards handy, go through the printed bundle and file the student materials pages and game materials according to the file folders you have. Once that is done, go through each file folder, one by one. Cut laminate and trim materials from each folder.
At this point, you can either store small game cards in baggies and slide them back into hanging file folders, OR, use IRIS craft keeper cases for each skill and put a label on each box. Those little craft boxes are great for storage game cards. The game boards won’t fit, so that’s why you might want to use the hanging file folder system. If you travel, use a binder for the game boards. The nice thing about the IRIS craft keeper case is that all the small cases fit into slots in a large carry case with a handle, making it really easy to transport.

Manipulatives
Keeping your phonological lessons hands-on, interactive and multisensory will make them engaging for your students. You don’t have to break the bank on expensive supplies, especially when you might only need small amounts for working 1:1 or in a small group at a time. For that purpose, prepare a manipulative kit for eight, which will include enough for six students, for you to model, and for one extra student or if something gets lost. You can use craft cases again for this or put them in individual bags and store them in a clear plastic bin. If you want individual kits, use plastic pencil boxes and fill them with enough manipulatives for one student to use. Then, all you will have to say is, “Take out the …,” and they can access them easily.
I have a supply list included here for you to print out. I tend to choose red, yellow and green to signify the colors on a traffic light. These colors can be helpful with blending, segmenting, and phoneme recognition in different positions. The photo below shows the suggested manipulatives.

Children’s Books
Having a collection of children’s books to model the skills you are teaching can be a powerful asset. Even if you only own one book of nursery rhymes, you can do a LOT with that! But, if you are looking to build up your classroom library, I have written 6 Children’s Books For Phonological Awareness Part One and 6 More Books For Phonological Awareness in a part two post. Check your local library, the Scholastic book orders, and used book sales. Store them in a special basket or on a small book rack. I like to place a circle dot sticker on the back cover telling me which phonological awareness skill the book will help me with when I read it to my students. Consider a color coded system. So, for all the books with examples of rhyming, place a yellow circle dot. For all the books serving as good models for phoneme manipulation, use a red dot. You get the idea. 😉
May I give you a super important tip? Anytime you hear of a library having a used book sale, RUN. I have gone to a used book sale in Williamstown, MA (a beautiful little town in the Berkshires on the Massachusetts/New York border if you want to make it a road trip) for years. They have one every April, and it’s usually in the third week, hosted in the elementary school gym in town, because it’s HUGE. You have to line up outside early before the sale opens up (at least 45 minutes before), but it’s worth it. My husband, also a teacher, and I have FILLED boxes of books all for 25 cents, 50 cents or hardcovers for $1. It is a STEAL. Plus, it’s for a good cause. All the proceeds go right back to the local library. My husband especially loves the silent auction in addition to this used book sale for a chance to win rare first editions of books.

Logistics
Now that you have set up your materials, the manipulatives and your children’s books are ready to go, think about the time you will need to devote to the lessons. Most of my lessons are short, only about 15 minutes at the most. Use them as warm ups or review. The assessment portion will take you the longest, but will be highly informative. The data you receive will show you where to target your instruction. If you know your students already are weak in phonological awareness, you might want to just start in on the lessons and save the assessments as a way to assess whether they are progressing as a result of the lessons you are giving them. When your students are ready, you can begin to plan to use the advanced phoneme manipulation activities designed for children who are a bit older.

I hope this post has given you a clearer image of how to get yourself organized. If you haven’t had a chance to do so already, I have a six part email series about the importance of phonemic awareness. It is packed with great teaching tips and a phonemic awareness games freebie is included for signing up!
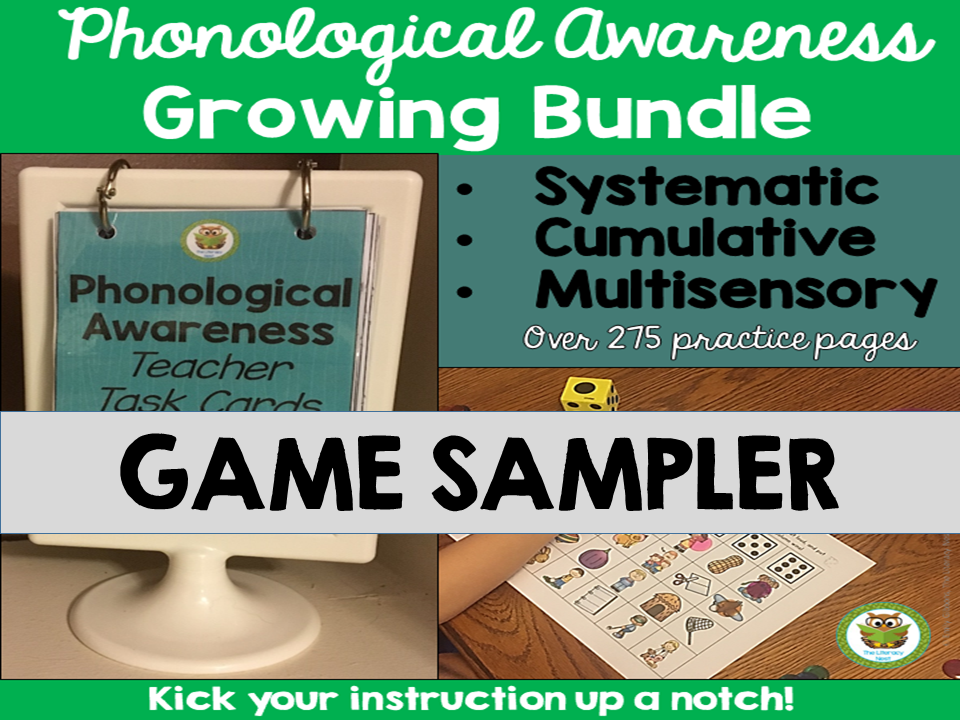 |
| Phonemic Awareness Games Sampler Freebie |
Do you have any personal tips that have worked for you and your students? Let me know in the comments. Thank you for stopping by my blog today!


Hi Emily,
I am in the process of printing out the Multisensory Phonics Games. This is probably a silly question but what is TOC that you refer to? Thank you for all the information you have made available to us. I don't know when you have time to do all that you do but I am very, very grateful!
Table of Contents