Visualizing Spelling Choices: Strategies For Spelling Success
It’s been a busy summer in the world of Orton-Gillingham this summer! I am always seeking new books, materials and lesson ideas for using the Orton-Gillingham approach, and today I am back to share some wonderful teaching tips for teaching spelling strategies.
I apologize for the summer hiatus from blogging, but things are picking back up for sure! If you receive my weekly emails, you probably have a pretty good idea about what I’ve been up to and what I have planned. So without further delay, Sarah from Magic Moments Tutoring is going to share some absolutely FABULOUS and PRACTICAL tips that you can implement in your Orton-Gillingham lessons or other reading interventions right away. Please feel free to comment or ask questions at the end of the post. Thank you, Sarah for writing such a valuable post for both me and my readers! 🙂
Visualizing Spelling Choices
Sometimes it seems that the more an O.G. student learns, the harder spelling becomes! When a student only knows a few syllable types, their options for spelling a certain sound are pretty limited and can be figured out on the basis of what type of syllable they hear. It isn’t too long however, before the spelling choices start stacking up and helpful spelling generalizations are only half the story. Students that are proficient at spelling words like tackand takeand playmay run into problems when writing maid, rein and prey.
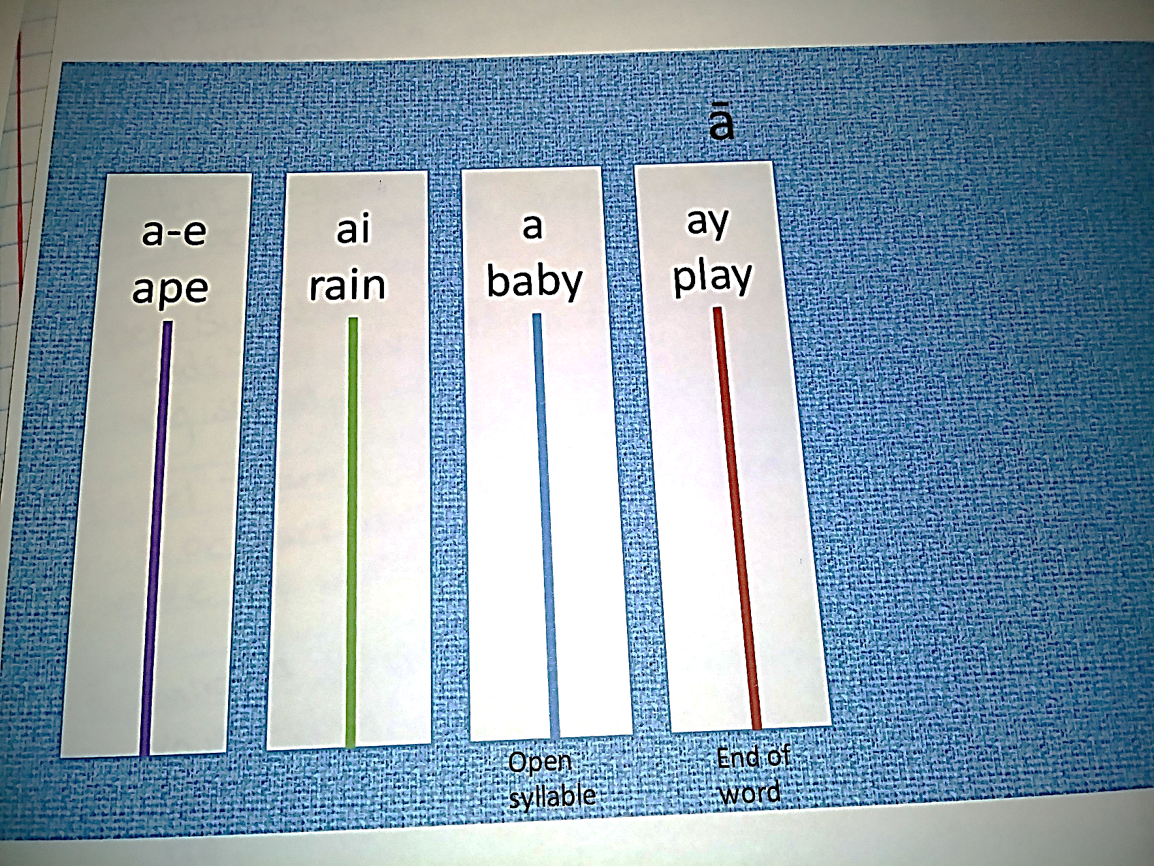
While we can teach students that certain spellings are used at the beginning or middle of words and others at the end, there are still plenty of tricky choices such as whether to use a-e or ai, oa or o-e? Long e has a dizzying number of possibilities. Spelling that is phonetically correct, but not orthographically correct is still a problem for students in the classroom.
I find that it is helpful to introduce students to the frequency of different spelling patterns. The oe spelling is uncommon and should not be a student’s go-to answer for spelling the long o sound. Using a simple visual graph of frequency of use is a great first step. This graph can easily be made interactive and hands-on by using Velcro, or you can build this with the student, adding spellings as they are introduced.
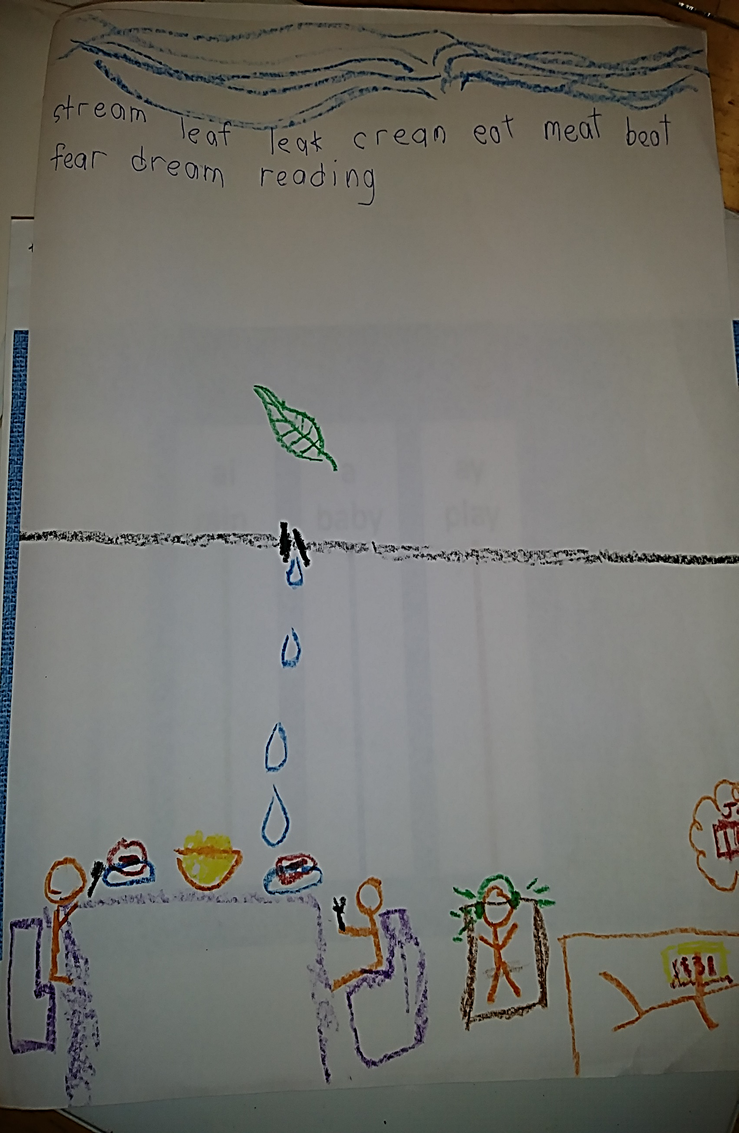
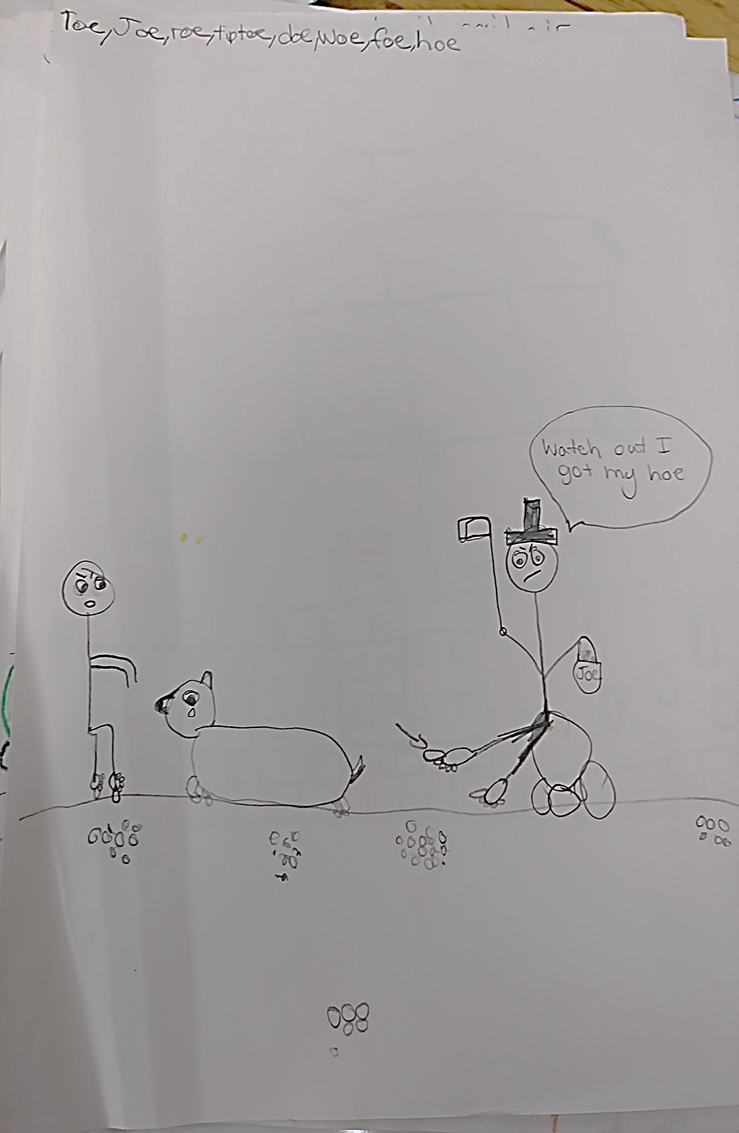
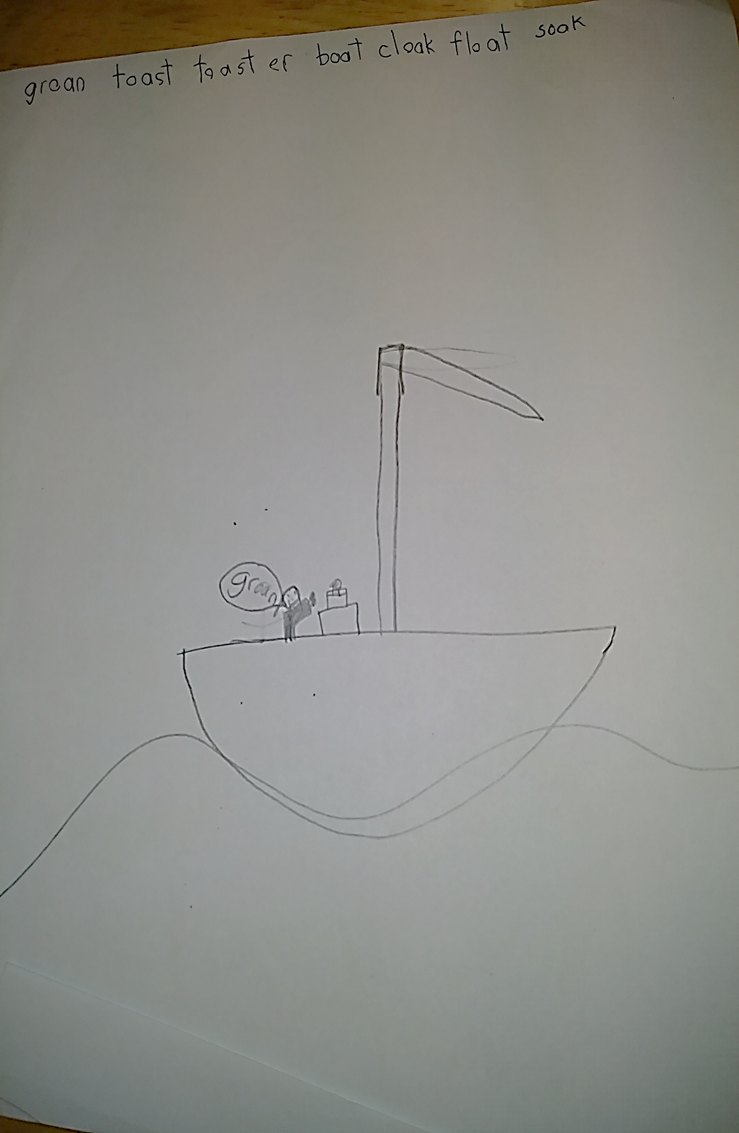
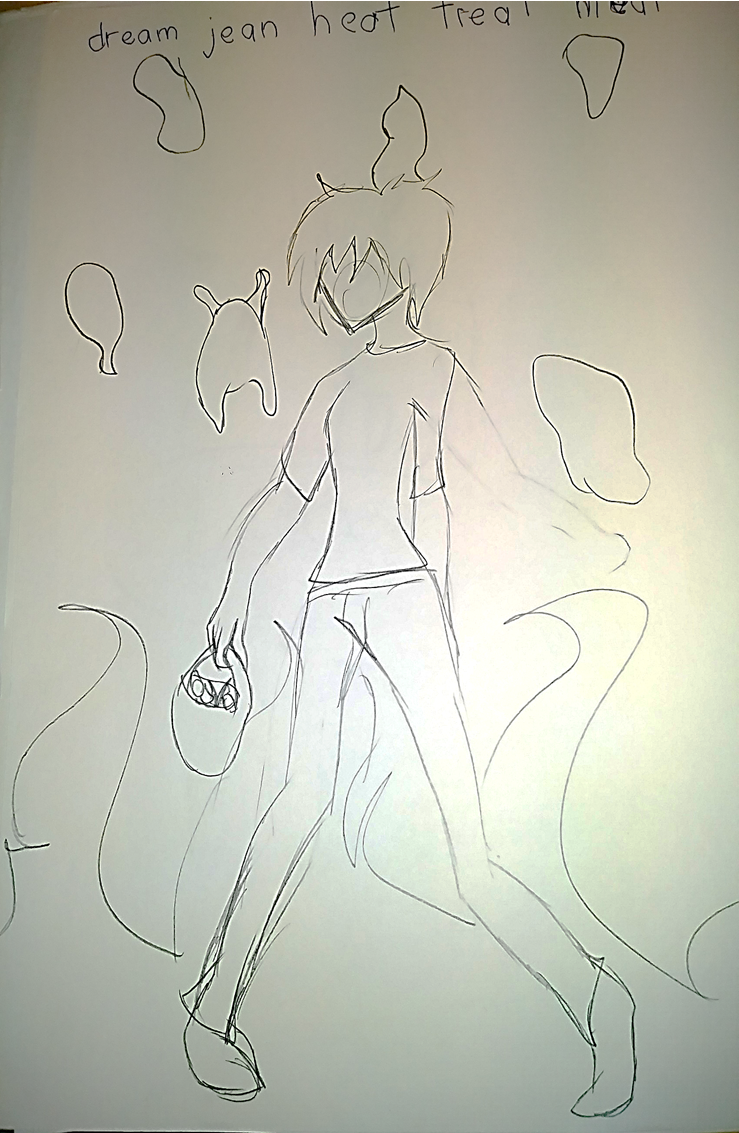
As new phonograms and spelling generalizations are introduced, I find it is helpful to incorporate specific lessons focusing on spelling choices. After helping students to make wise choices using their knowledge of spelling generalizations and frequency, it seems to be most helpful to develop a repertoire of high use words that they know will fit a specific spelling pattern. Of course, this happens through many exposures to reading and writing these words, but we can also use the student’s imagination, visualization skills and artistic abilities to help.
9. Display or keep in a student’s personal folder for reference.
This activity is easily adapted to fit your individual schedule by making it as simple as a time limited sketch (2 minutes for thinking and 3 for sketching seems to work well) or as elaborate as a take home family project. It is easily adapted to different ages by incorporating more complex vocabulary. Finally, it allows many students with dyslexia to utilize some of their creative strengths.
Looking for even more tips?
Read: “What Does An Orton-Gillingham Lesson Look Like?





Wow! Excellent post with many helpful ideas. Thank you so much!